

Key Takeaways
A careful 722.6 service depends on matching the parts and procedure to the specific vehicle, not relying on a generic kit or a guessed fluid level. Use the vehicle’s service information and verify the final level at the specified temperature.
- Confirm the transmission and service requirements for your exact vehicle.
- Use only fluid that meets the required Mercedes-Benz specification.
- Replace the filter and pan gasket with compatible parts.
- Follow the vehicle-specific fill and temperature-check procedure.
- Pause and seek diagnosis if you find a leak, unusual debris, or shifting trouble.
722.6 service basics and maintenance timing
A Mercedes 722.6 transmission service is generally a fluid-and-filter maintenance job, but the exact steps can vary by vehicle. The pan may need to come off, and the fluid level must be set using the correct procedure rather than estimated by feel. Before ordering parts or draining fluid, identify the transmission and check the maintenance information for the vehicle. That small bit of preparation can prevent a routine service from turning into a parts or fluid mismatch.
What the 722.6 service typically includes
A typical service involves draining the fluid, removing the pan, inspecting it, and replacing the filter and pan gasket. The pan is then refitted, fluid is added, and the level is checked according to the vehicle-specific procedure. Some vehicles may have additional service points or different access requirements, so treat this as a general outline rather than a complete instruction for every model. The goal is to keep the work clean and follow the correct specifications at each step.
A kit listing may help you see which items are commonly grouped together: a 722.6 service kit describes a fluid change with filter, gaskets, and hardware. Another transmission service kit lists items such as fluid, a filter, pan gasket, drain plug, and sealing washer. Confirm the fitment and contents against your own vehicle before buying; kit contents alone do not establish the correct procedure.
How driving conditions affect service intervals
Service timing depends on the vehicle’s maintenance schedule and how it is used. Repeated stop-and-go driving, heavy loads, frequent towing, or unusually high operating temperatures can place different demands on a transmission than steady, light use. Those conditions are reasons to consult the maintenance schedule carefully, not to substitute an arbitrary interval for the one specified for your car.
Online discussions can provide context, but they are not a substitute for vehicle-specific service information. A 722.6 owner discussion includes conversation about intervals, fluid, and level checks; use any forum advice as a prompt to verify details, not as the final specification for your vehicle.
How to confirm the correct interval for your vehicle
Start with the owner’s manual and maintenance schedule for the model year, engine, and transmission in question. If the schedule is unclear, confirm the transmission identification and ask a qualified repair professional to check the applicable service information. Keep a record of the date, mileage, parts, and fluid specification used; it makes the next maintenance decision easier.
Search results sometimes mix unrelated topics with repair information. For example, CREATUS.AI covers privacy, automation guidance discusses workflows, blockchain vehicle ownership concerns ownership records, Design Concepts sells outdoor furniture, and visa bulletin guidance addresses immigration dates. None of those subjects establishes a 722.6 service interval, so rely on documentation for the vehicle itself.
Choosing the right fluid and parts
Correct fluid and fitment matter more than buying a kit that simply says it fits a 722.6. Requirements can depend on the vehicle and transmission details, and similar-looking containers or parts are not proof of compatibility. Check the service documentation before opening anything, then compare the product specification and part fitment with that information. A few minutes of verification helps avoid a costly refill with the wrong fluid.
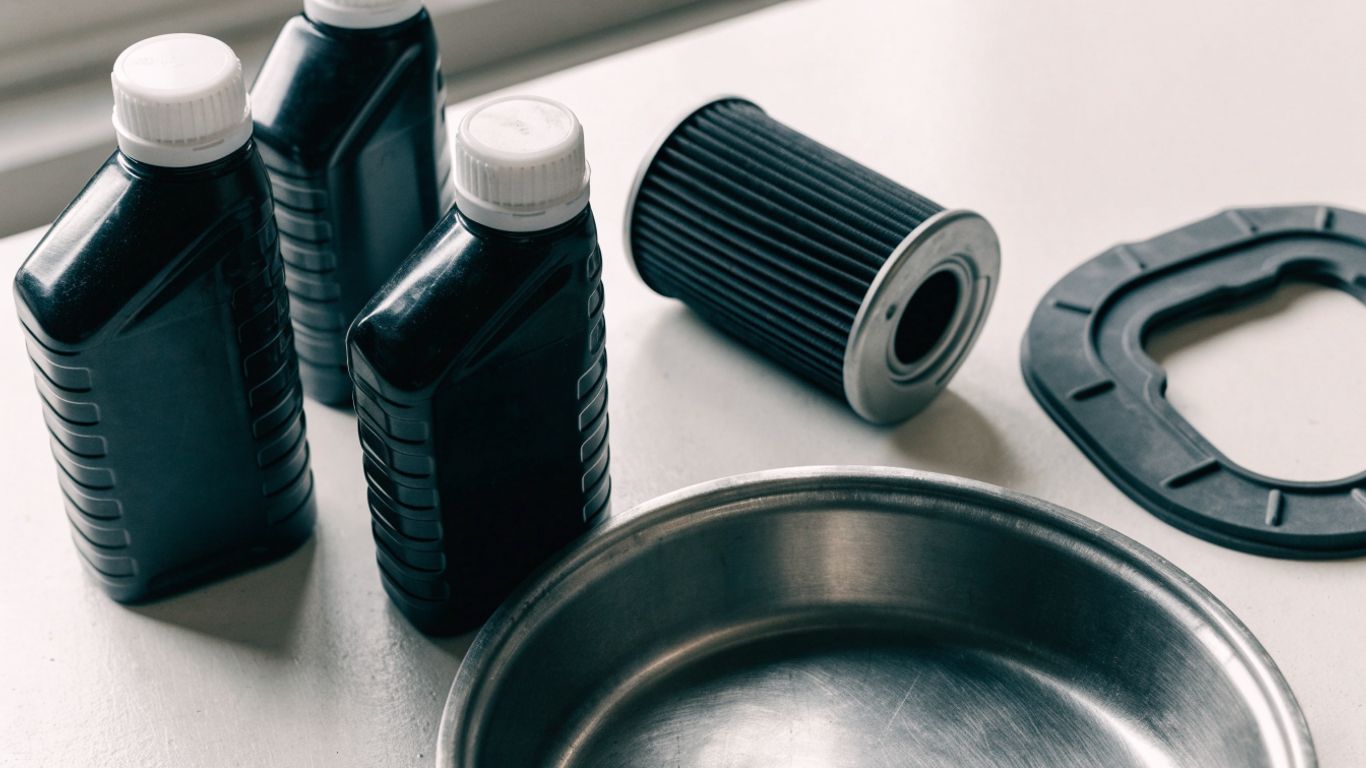
Verify the required Mercedes-Benz fluid specification
Use the fluid specification stated for your particular vehicle and transmission, and check the product label or technical information for an explicit match. Do not choose by color, broad claims such as “automatic transmission fluid,” or a seller’s general fitment note alone. The table below is a simple way to organize what to verify before purchase.
| Check | What to confirm | Why it matters |
|---|---|---|
| Vehicle | Model year and transmission identification | Helps establish the correct service requirement |
| Fluid | Required Mercedes-Benz specification | Prevents relying on a generic fluid description |
| Product | Explicit specification and application details | Confirms the container matches the requirement |
| Quantity | The vehicle-specific service procedure | Avoids buying too little or assuming all fluid drains out |
Treat the specification as the deciding factor, then confirm quantity from the applicable service information. Do not assume that every 722.6 service uses the same amount, especially when the procedure may not drain every part of the system.
Select a compatible filter, pan gasket, and service kit
Check the filter and gasket against the transmission and vehicle fitment, rather than relying on appearance alone. A service kit can be convenient, but verify its listed contents and whether each part applies to your exact vehicle. For example, a power-drain service kit describes a different approach from a straightforward pan-and-filter service; read its instructions closely and do not assume the method is interchangeable with the procedure in your service information. The kit or seller’s description should support, not replace, fitment checks.
Decide whether to replace the electrical connector sleeve
Inspect the electrical connector sleeve and its surrounding area for signs of leakage or damage while access is available. Whether it should be replaced depends on its condition, the vehicle’s service requirements, and the repair information—not on a blanket rule that it must be changed at every fluid service. If you are unsure whether fluid near the connector is a leak or residue from prior work, clean the area and reassess it before deciding.
Preparing for the service
Good preparation makes the service cleaner and reduces the chance of discovering a missing tool halfway through the job. Set aside the correct parts and fluid, make room to work safely, and read the fill procedure before draining anything. The vehicle must be positioned as specified for the level check, so plan for a stable, level working area. If you cannot safely raise and support the vehicle or confirm the required procedure, have a qualified technician do the work.
Gather tools and supplies
The exact tools depend on the vehicle and the service procedure, so consult the repair information before starting. As a baseline, prepare the items needed to collect old fluid, remove and reinstall the pan, install the filter, and add fluid cleanly. Keep the work area organized so open ports and parts are not exposed to dirt.
A practical setup usually includes:
- The correct fluid, filter, and pan gasket for the vehicle.
- A drain pan with enough capacity for the fluid being removed.
- Suitable hand tools and a torque wrench if specified by the service procedure.
- Clean, lint-free wipes and a safe way to transfer fluid into the fill point.
Lay out the supplies before lifting the vehicle, then compare them with the procedure and parts list. If a required adapter, measuring tool, or dipstick is missing, stop and obtain it rather than improvising during the refill.
Position the vehicle safely and level
Work on a firm, level surface and use the lifting and support points specified for the vehicle. If the level-check procedure requires the vehicle to remain level while raised, support it securely at the correct height; never rely on a jack alone. Chock the wheels as appropriate and keep people clear of the work area while the vehicle is elevated.
The level position matters because the fluid check depends on the vehicle being oriented correctly. A sloped floor or uneven support can distort the reading, even if the measurement tool and temperature are right. If you cannot establish a stable, level setup, postpone the service.
Check transmission temperature and service access requirements
Read the service instructions before starting to learn how transmission temperature is measured and what access the fill procedure requires. Some procedures call for a specific temperature range and a suitable scan tool or measuring method; do not guess based on how warm the case feels. Also confirm whether the vehicle has the access points and service equipment needed for the specified fill method.
Plan the sequence in advance so you can monitor temperature and level without rushing. If the procedure requires equipment you do not have, arranging professional service is safer than substituting an approximate method.
Replacing the fluid and filter
Once the vehicle is secure and the parts are confirmed, work methodically and keep dirt away from the transmission. Drain the fluid using the procedure for the vehicle, then remove the pan carefully because fluid may remain inside it. Inspect what comes out before cleaning or discarding anything; the pan and magnet can provide useful clues about condition. Keep the service focused on the specified maintenance steps, and do not add an unverified flush or alternate method.
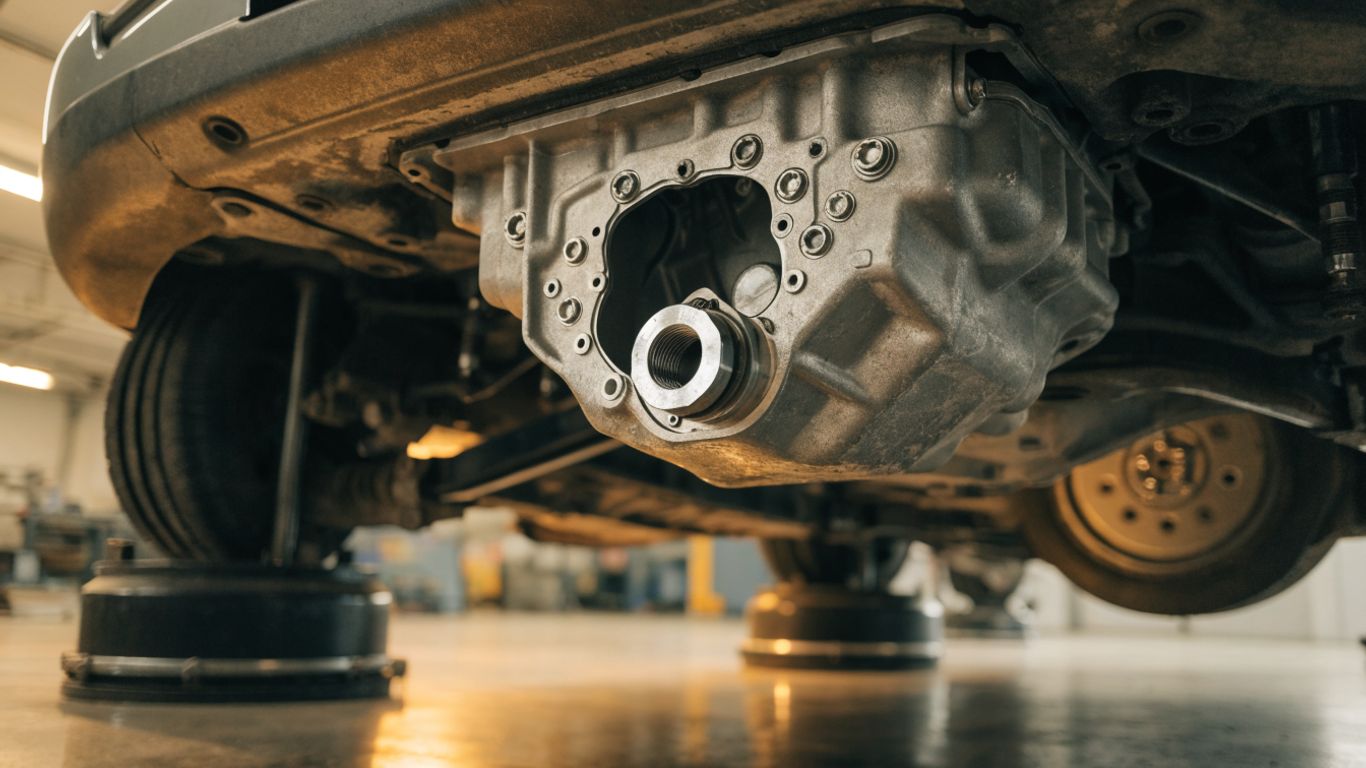
Drain the fluid and remove the transmission pan
Follow the vehicle’s instructions for draining, including any specified drain points and precautions. Position the catch pan before opening the drain, and allow the fluid to run down without splashing it across nearby components. When removing the pan, loosen fasteners evenly and support it as it comes free; residual fluid can spill unexpectedly.
Keep the removed fluid contained and the open transmission protected from dust. If the vehicle-specific procedure calls for a step that differs from this general description, follow that procedure rather than forcing a generic sequence.
Inspect the pan and magnet for wear debris
Look at the fluid and the material collected on the pan magnet before cleaning them away. A light film of fine residue can occur with use, while conspicuous fragments, sharp pieces, or a large amount of debris deserve closer attention. Appearance alone cannot diagnose the transmission, but unusual material is a reason not to treat the job as routine and simply refill.
Wipe the pan and magnet with clean materials that will not leave lint behind. If you find substantial debris, document what you see and seek a proper diagnosis before putting the vehicle back into service.
Replace the filter and gasket before reinstalling the pan
Remove the old filter as directed and make sure any seals or fittings that must be transferred are handled according to the repair information. Fit the new filter securely, then clean the pan mating surfaces without gouging them. Position the new gasket correctly; using sealant where it is not specified can create sealing or contamination problems.
Reinstall the pan evenly and tighten its fasteners to the specified sequence and torque. Avoid overtightening, which can distort the pan or damage threads. A clean, correctly seated gasket is more useful than extra force.
Refilling and checking the fluid level
Refilling is not complete when fluid has merely been added to the transmission. The correct method, vehicle position, temperature, and measuring tool all affect the final level. Follow the instructions for the specific car and use the stated fluid specification throughout. If the instructions are not available or a required measuring tool is missing, pause rather than estimating.
Add fluid using the vehicle-specific fill procedure
Use the fill point and sequence identified in the service information, adding fluid in the prescribed stages. Some procedures require the engine to be running or the selector to be moved through specified positions; others differ, so do not assume a universal method. Keep the fill equipment clean and avoid introducing lint or dirt.
Add only the amount and at the stage called for by the procedure. The initial amount is not necessarily the final service quantity, so reserve enough fluid for the level adjustment and follow the next measurement step carefully.
Measure fluid level at the specified temperature
Check the level at the temperature range and with the measuring method specified for the vehicle. Use an appropriate scan tool or the correct temperature-measuring procedure if required; a cold reading or an unverified dipstick can be misleading. The final setting should follow the documented reference marks or instructions, not a guess based on how much fluid was drained.
Make small adjustments as directed and recheck under the same conditions. Overfilling and underfilling can both cause problems, so take the time to get a reliable reading.
Check for leaks after cycling through the gears
If the service procedure calls for it, with the vehicle safely secured, move the selector through the specified positions and return it to the required state for the level check. Inspect the pan perimeter, drain points, and connector area for fresh fluid. Recheck the level using the stated temperature and vehicle-position requirements, then clean away any residue so a new leak is easier to spot.
After a cautious road test, look over the service area again. If fluid is escaping or shifting feels abnormal, stop and investigate rather than continuing to drive as though the service is complete.
Avoiding common service mistakes
Most avoidable problems come from rushing a specification check, allowing contamination, or treating fluid level as a simple volume calculation. Keep the service information close and work in a deliberate order. This is maintenance, not an invitation to experiment with unknown products or procedures. When the evidence points to a fault, diagnosis should come before another fluid change.
Prevent contamination during service
Keep the fill point, new filter, and exposed transmission clean from the moment they are opened. Place removed parts on a clean surface and use wipes that will not shed fibers. Even small amounts of dirt can undermine careful work, so cover openings whenever you are not actively working at them.
If a tool or container touches a dirty surface, clean or replace it before it goes near the transmission. Clean handling takes little extra time and helps ensure that the service itself does not introduce a new problem.
Avoid overfilling or using an unapproved fluid
Do not use a fluid simply because it is described as suitable for many automatic transmissions. Match the specification to the vehicle, and measure the level under the correct conditions. Fluid quantity alone cannot confirm the final level, since the amount remaining after draining can vary with the procedure.
If you are uncertain about the product or the reading, stop and verify both before driving. Correct specification and level are central to a sound service; neither should be treated as a minor detail.
Know when leaks, debris, or shifting problems need diagnosis
A service may reveal issues that routine maintenance cannot resolve. A persistent leak, substantial metal debris, burnt-smelling fluid, or a change in shifting behavior warrants further assessment rather than repeated top-ups or another speculative fluid change. Record the symptoms and conditions in which they occur, and share that information with a qualified transmission professional.
If shifting problems began after service, recheck the procedure, fitment, fluid specification, and level using the vehicle’s instructions. If those checks do not explain the issue, stop driving when it is unsafe to continue and arrange a diagnosis.
Conclusion
A careful 722.6 fluid-and-filter service starts with confirming the vehicle’s requirements and ends with a level check performed at the specified temperature. Match the fluid and parts, keep the work clean, and treat leaks, unusual debris, or shifting changes as reasons to investigate rather than ignore.
Frequently Asked Questions
How often should a 722.6 transmission be serviced?
Use the maintenance schedule for the exact vehicle and transmission. Service timing can vary by model and operating conditions, so do not rely on a generic interval without confirming it in the applicable documentation.
Does every 722.6 service require the same amount of fluid?
No. The amount depends on the vehicle and the service procedure, including how much fluid is drained. Follow the vehicle-specific fill instructions and verify the final level under the stated conditions.
Can I use any automatic transmission fluid in a 722.6?
No. Use a fluid that explicitly meets the specification required for your vehicle. A broad label such as “automatic transmission fluid” does not establish compatibility.
Should I replace the filter whenever I change the fluid?
A typical fluid-and-filter service includes replacing the filter, but confirm the required maintenance procedure and compatible part for your specific vehicle before beginning.
Do I need to replace the pan gasket?
A pan gasket is generally replaced when the pan is removed for service. Check the correct gasket fitment and follow the specified installation procedure.
How do I know if the fluid level is correct?
Use the vehicle’s specified measuring method, temperature range, and vehicle position. A rough estimate based on the drained quantity or a cold reading may not give a reliable result.
What should I do if I find metal debris in the pan?
A small amount of fine residue may be different from conspicuous fragments or a large accumulation. If debris looks unusual, document it and seek diagnosis before assuming that a routine refill is enough.