

Key Takeaways
A careful diagnosis and a verified part number matter as much as the replacement itself. Use service information for the exact vehicle, and pause if the repair requires tools or procedures you cannot safely manage.
- Confirm the failed component before ordering anything.
- Match the replacement to the vehicle’s VIN, engine code, and current part number.
- Follow the service procedure for safety steps, torque values, and fluid requirements.
- Keep connectors, fasteners, and removed components organized during disassembly.
- Check for leaks, warning lights, and abnormal operation before driving.
Identify the part and confirm the problem
A symptom can point toward several possible faults, so avoid replacing a component based on a sound or warning light alone. First note when the issue occurs and whether it changes with engine temperature, speed, or load. A methodical diagnosis helps prevent unnecessary work and gives you a clearer idea of what the repair involves.
Match symptoms to likely engine components
Loss of power, unusual noise, smoke, or a fluid leak can each have more than one cause. Start with what you can observe: where a leak appears, when a noise begins, and whether the engine runs differently at idle or under acceleration. A guide to engine components can help you understand how parts such as the crankshaft, camshaft, and head gasket relate to common symptoms, but it cannot confirm which component has failed on your vehicle.
Keep a brief record of the conditions surrounding the symptom. That information can help distinguish a persistent mechanical problem from an intermittent issue and gives a repair professional a useful starting point.
Use diagnostic codes and inspection findings
A diagnostic code identifies a system or condition that needs attention; it does not automatically prove that one particular part is defective. Read codes with a suitable scan tool, record them before clearing anything, and compare them with a physical inspection. Treat each code as a clue that needs to be checked against the vehicle’s symptoms and service information.
A simple comparison can keep the next step grounded in evidence:
| Finding | What it may indicate | Useful next check |
|---|---|---|
| Oil visible near a joint | A seal, gasket, or nearby source may be leaking | Clean the area and trace where fresh oil appears |
| Misfire-related code | An ignition, fuel, wiring, or mechanical issue may be involved | Follow the diagnostic procedure for that code |
| Coolant loss | A leak may be external or internal | Inspect the cooling system when the engine is cool |
| Knocking or tapping | Several mechanical causes are possible | Note engine temperature and operating conditions |
Use the table to organize observations, not to make a diagnosis by itself. If a code returns or the symptom is severe, continue testing before ordering a part.
Check whether the part can be repaired or needs replacement
Not every fault calls for a new component. Depending on the part and the confirmed cause, repair, remanufacture, or replacement may be appropriate; the condition of surrounding components also matters. A repair-or-replace overview can help frame the decision, while the vehicle-specific inspection and warranty terms should guide the final choice.
For a major engine concern, compare the scope of the repair with the condition of the engine as a whole. A specialist in remanufactured Mercedes-Benz engines may be relevant when the issue extends beyond one serviceable component, but the right option depends on the vehicle and diagnosis.
Find the correct replacement part
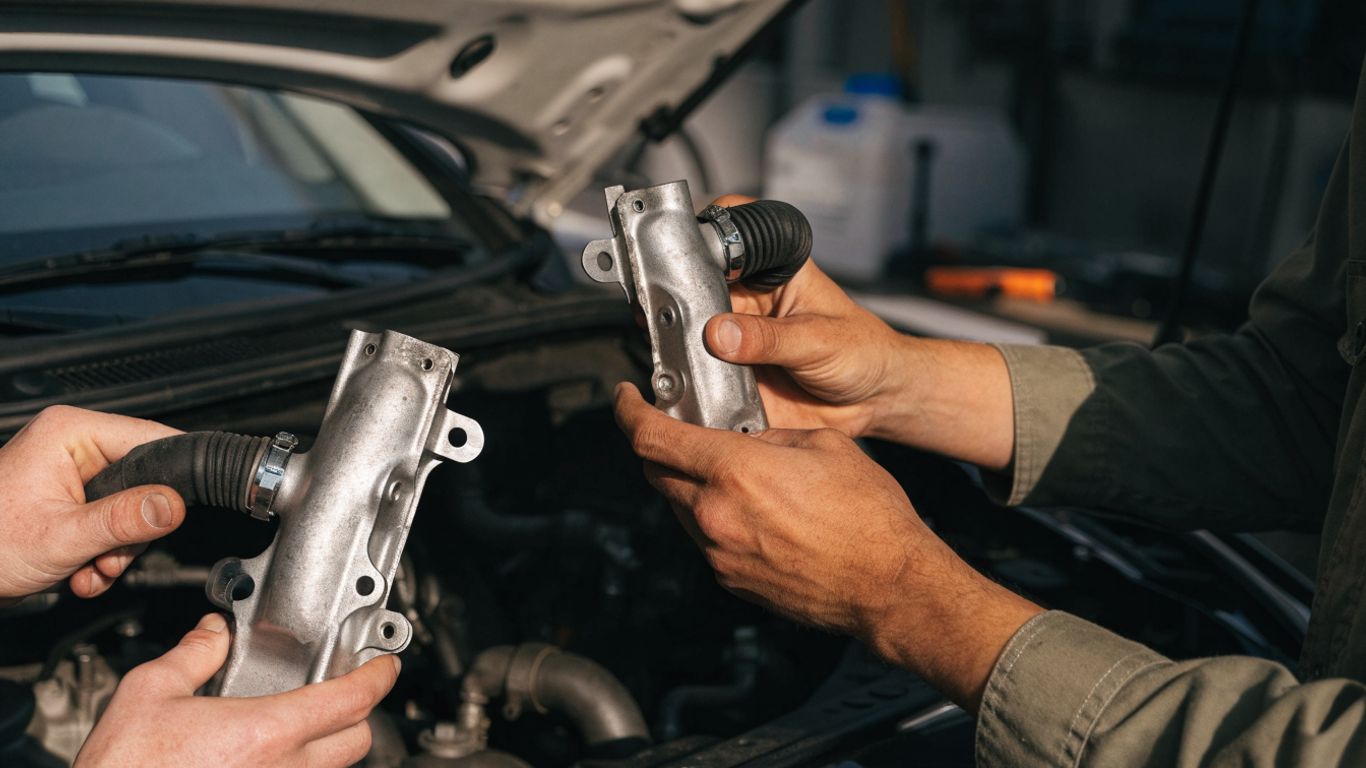
A part that looks identical may still differ in fitment, connector style, calibration, or production revision. Before buying, match the replacement to the exact vehicle and verify the current part number with a reliable parts source. This is especially important when a model year includes more than one engine configuration.
Confirm the model, year, engine code, and VIN
Write down the model, model year, engine code, and full VIN before contacting a supplier. These details help narrow the application, but the VIN should still be checked against the part catalog or supplier’s fitment information. If the vehicle has had an engine replacement or other major modification, mention that as well because the original vehicle record may no longer describe every installed component.
Compare genuine, OEM, and aftermarket options
Compare each option by fitment, included hardware, warranty, and the supplier’s return policy, rather than price alone. Ask whether a gasket, seal, sensor, or one-time-use fastener is included, and whether the part is new, repaired, or remanufactured. For a remanufactured part, confirm what has been inspected or renewed and whether a core return is required.
Search results can also mix in unrelated local services. Pages about refrigerator repair, bathroom remodeling, gutter installation, long-distance moving, and pest control are not vehicle-parts listings; check the supplier and application details before placing an order. For a heavy-duty diesel application, a Mercedes diesel parts source may cover a different range of engines than a passenger-car parts catalog.
Verify compatibility and check for updated part numbers
Ask the supplier to confirm fitment using the VIN and engine code, then check whether the listed number has been superseded by an updated part number. A number cast or printed on the old part is helpful, but it may not be the current service number or the correct replacement for every production date. Keep a record of the confirmed number and the supplier’s fitment response in case the package or invoice differs.
Prepare for a safe repair
Replacing an engine component can involve hot surfaces, electrical connections, pressurized systems, and fluids that require correct handling. Before starting, decide whether the job matches your experience and equipment. When access, timing, or internal engine work is involved, a qualified technician may be the safer choice.
Consult the Mercedes-Benz service information
Use the service procedure for the exact model and engine, not a general guide for a similar vehicle. Confirm the required isolation steps, removal order, torque values, tightening sequence, fluid type, and any post-installation checks. If the procedure calls for special tools, coding, or adaptations that you do not have, arrange access to them before disassembly.
Gather the required tools, parts, and fluids
Prepare the replacement part and all specified seals, fasteners, and fluids before opening the engine. The exact needs vary by component, so use the service information and parts list rather than relying on a generic kit. A few practical preparations make the work easier to control:
- Set out the correct hand tools and any specified specialty tools.
- Have suitable containers ready for fluids that must be drained.
- Prepare labels or a camera to record connector and hose locations.
- Keep clean covers available to protect open ports and passages.
Once everything is on hand, compare the new part with the old one before removal. Differences in connector shape, mounting points, or supplied seals are easier to resolve while the vehicle is still assembled.
Disconnect the battery and protect the work area
Follow the vehicle-specific battery isolation procedure, including any required waiting period or memory precautions. Park on a level surface, secure the vehicle, allow hot components to cool, and keep ignition sources away from fuel or other flammable materials. Wear eye protection and suitable gloves, and protect open engine passages from dirt.
Remove the faulty engine part
Work slowly and follow the component’s service procedure in order. Some parts are reached only after removing covers or nearby components, and those steps can vary considerably between engines. Photographing the area before disturbing it can help you restore the original routing later.
Locate the component and note its connections
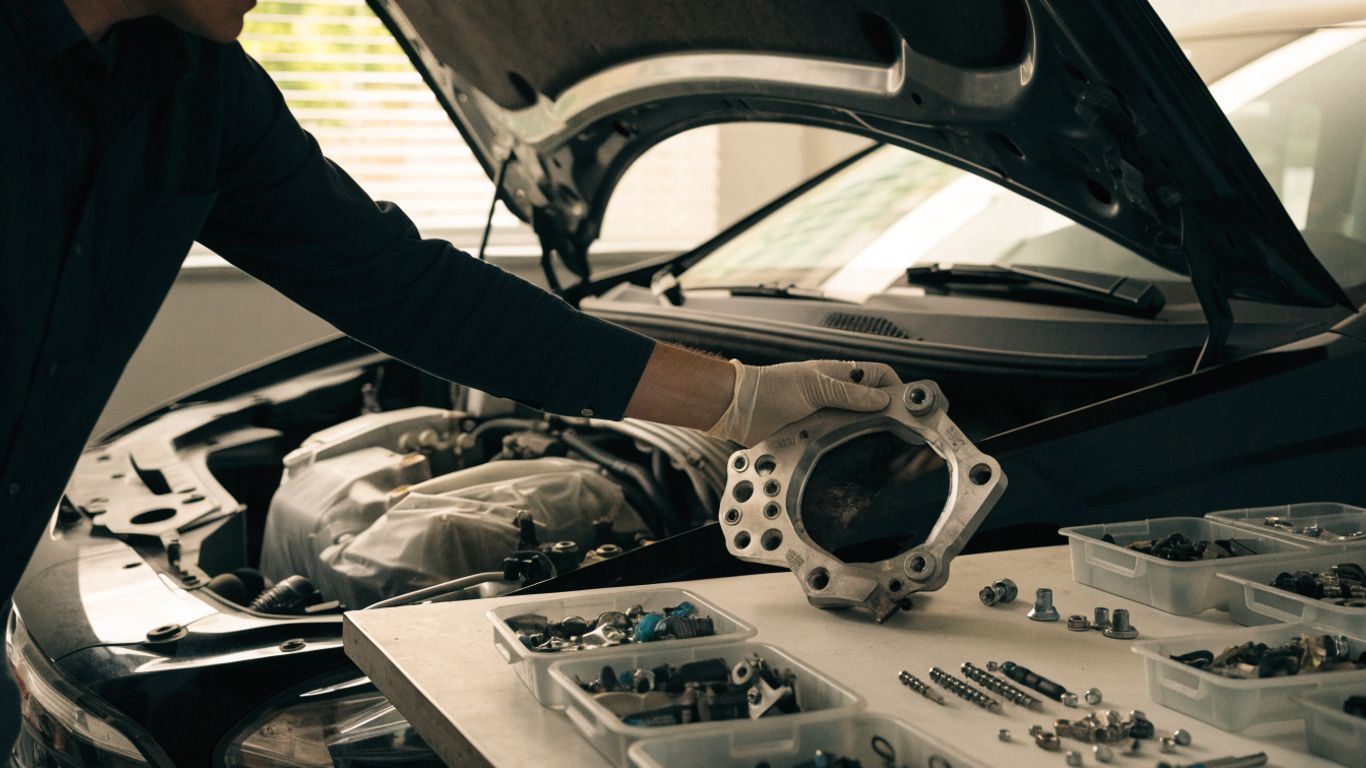
Identify the part using the service diagram before loosening anything. Note the direction of hoses, wiring clips, brackets, and ground connections, and label items that could be confused when refitting. If a connector resists, check for a locking tab or retaining clip instead of pulling on the wires.
Remove nearby covers and components as needed
Remove only what the procedure requires to reach the faulty part. Keep removed pieces clean and set them aside in the order they came off, while protecting any exposed openings. If you encounter unexpected resistance, a hidden fastener, or a connection that does not match the diagram, stop and reassess rather than forcing it.
Keep fasteners organized and inspect related parts
Separate fasteners by location and note any differences in length or type. As components come away, inspect nearby seals, wiring insulation, hose ends, and mounting surfaces for damage that could affect the repair. A new part will not solve a separate leak or a broken connector, so make a note of related issues before installation.
Install the replacement component
Before fitting the part, compare it with the old component and verify that the mating points and connections match. Follow the service sequence rather than assuming removal steps can simply be reversed. Small details such as a seal’s position or a connector’s lock can determine whether the repair holds up.
Clean and inspect mounting surfaces
Remove residue with a method and cleaner suitable for the surface, taking care not to push debris into an open passage. Check the mounting face for scoring, corrosion, cracks, or remnants of an old gasket. Replace specified seals and avoid adding sealant unless the service instructions call for it.
Fit the part using the specified torque and sequence
Position the component without forcing it, then start fasteners by hand where practical to avoid cross-threading. Use the exact torque and tightening sequence in the service information; do not substitute a general value based on fastener size. If the procedure specifies staged tightening or new fasteners, follow those requirements.
Reconnect hoses, wiring, and other components
Use your labels and photographs to return each connection to its original location. Confirm that clips are locked, hoses are fully seated, and wiring is routed clear of heat and moving parts. Before replacing covers, compare the completed installation with the original layout and the service diagram.
Check the repair before driving
The repair is not complete when the part is bolted in. Reassembly, fluid checks, diagnostic steps, and a careful first start all matter, and the exact sequence depends on the component. If the engine behaves unexpectedly, shut it off and investigate rather than continuing to drive.
Refill fluids and inspect for leaks
Refill any drained fluid with the specified type and follow the correct level-check procedure. Inspect the work area for tools or loose materials, then look closely around disturbed joints for seepage. Keep clear of moving parts and hot surfaces while checking the engine.
Clear diagnostic codes and run required adaptations
Record any original codes and repair notes before clearing stored faults. Some repairs require a scan tool procedure or adaptation, while others do not; follow the service information for the exact component. If a code returns, use it as part of further diagnosis rather than repeatedly clearing it.
Start the engine and verify operation under safe conditions
Start the engine only after confirming that tools are clear and connections have been restored. Watch for warning lights, unusual noise, smoke, unstable operation, or a fresh leak, and shut the engine off if any appear. If the initial check is normal, follow the prescribed verification procedure before considering a road test.
A road test should happen only when the engine is operating normally and the repair procedure permits it. Begin in a safe area, pay attention to changes, and recheck for leaks afterward. If the fault persists or you are uncertain about the result, have the vehicle inspected before driving further.
Conclusion
Replacing an engine part successfully starts with confirming the fault and ends with careful verification. Match the component to the exact vehicle, follow its service procedure, and do not rush past a mismatch or an unexpected symptom. When the work exceeds your tools or experience, getting professional help is a sensible part of the repair.
Frequently Asked Questions
How do I know which engine part has failed?
Use the symptoms, diagnostic codes, and physical inspection together. A code or symptom can point toward an area to investigate, but it does not always identify the failed part on its own.
Can I replace an engine part without a scan tool?
Some straightforward repairs may not require one, but diagnosis or post-repair checks can call for a scan tool. Check the vehicle-specific procedure before starting so you know what equipment is needed.
How do I make sure a replacement part fits?
Confirm the VIN, model year, and engine code with a reliable parts source. Also verify the current part number and ask whether it has been superseded.
Should I replace seals when changing an engine component?
Replace seals or fasteners when the service procedure specifies it, or when inspection shows damage. The parts list and instructions for the specific repair are the best guide.
Is it safe to drive immediately after the repair?
Only after completing the required checks and confirming there are no leaks, warning lights, or abnormal sounds. Follow any prescribed verification procedure before driving.
What should I do if the same warning light returns?
Record the code and conditions, then continue diagnosis using the relevant service procedure. Avoid repeatedly clearing the warning without finding its cause.
When should I leave the repair to a professional?
Choose professional help if the procedure requires specialty tools, complex timing work, internal engine access, or diagnostic steps you cannot perform safely. Stop if the job differs from the instructions or a connection cannot be removed without force.