

Key Takeaways
A clean cabin filter supports comfortable airflow, but the right replacement and access steps depend on the specific vehicle. Use the owner’s manual and the filter markings to guide the job, and take your time around trim and connectors.
- Check the maintenance schedule and watch for changes in airflow, odor, or dust.
- Match the replacement filter to the vehicle’s model year and specifications.
- Find the correct compartment before removing trim or covers.
- Follow the airflow arrow and avoid forcing the filter into place.
- Test the fan afterward and record the service date and mileage.
Know when your Mercedes cabin filter needs replacing
A cabin filter collects airborne debris before air reaches the passenger compartment, but it does not last indefinitely. The right interval depends on the model and the conditions in which it is driven, so use the vehicle’s maintenance information as your starting point. A change in airflow or cabin smell can also be a useful prompt to inspect it. This guide covers the checks to make before beginning a Mercedes cabin filter replacement.
Check the maintenance schedule for your model
Mercedes models can differ in service intervals and filter arrangements, so look up the schedule for your exact year and model rather than relying on a general rule. The owner’s manual or vehicle maintenance information may specify when to inspect or replace the filter. If the schedule gives a mileage or time interval, record which one you reach first and use it to plan ahead. Keep in mind that the filter itself and its location should also be verified before ordering a replacement.
Look for reduced airflow, odors, or more dust
A noticeable drop in airflow from the vents may be a reason to inspect the filter, particularly if the fan sounds as though it is running normally. Musty or stale odors, or more dust settling inside the cabin, can also prompt a closer look, although they do not prove that the filter is the only cause. Check whether the symptoms change with the fan setting or when switching between fresh air and recirculation. If they persist, consider whether the housing or ventilation system needs further attention.
A persistent smell is not always a filter problem; dampness elsewhere in a vehicle or ventilation issue may need separate attention. Moisture control is also a consideration in home maintenance, such as the advice on ventilation in bathroom remodeling, though a car’s ventilation system is a different setup. Treat that comparison as a reminder to investigate the source rather than masking an odor.
Consider how driving conditions affect replacement frequency
Dusty roads, frequent stop-and-go driving, and heavy use of the ventilation system can expose a filter to more debris than occasional driving in cleaner conditions. Let the service schedule guide you, then inspect sooner if the filter looks heavily loaded or symptoms appear. Maintenance intervals are context-dependent in other areas too: planning when to replace a vehicle filter is a different task from assessing worn gutters, but both benefit from checking condition rather than guessing from age alone. A quick note of mileage and driving conditions can help you make a sensible decision next time.
Choose the right filter and prepare
Before opening the vehicle, confirm which filter you need and how many filters the particular configuration uses. Some vehicles have more than one cabin-air filter or more than one filter location, so a generic listing may not be enough to identify the correct part. Take a moment to gather the replacement and any tools the access procedure calls for. Preparing first helps avoid leaving trim loose while you search for a missing item.
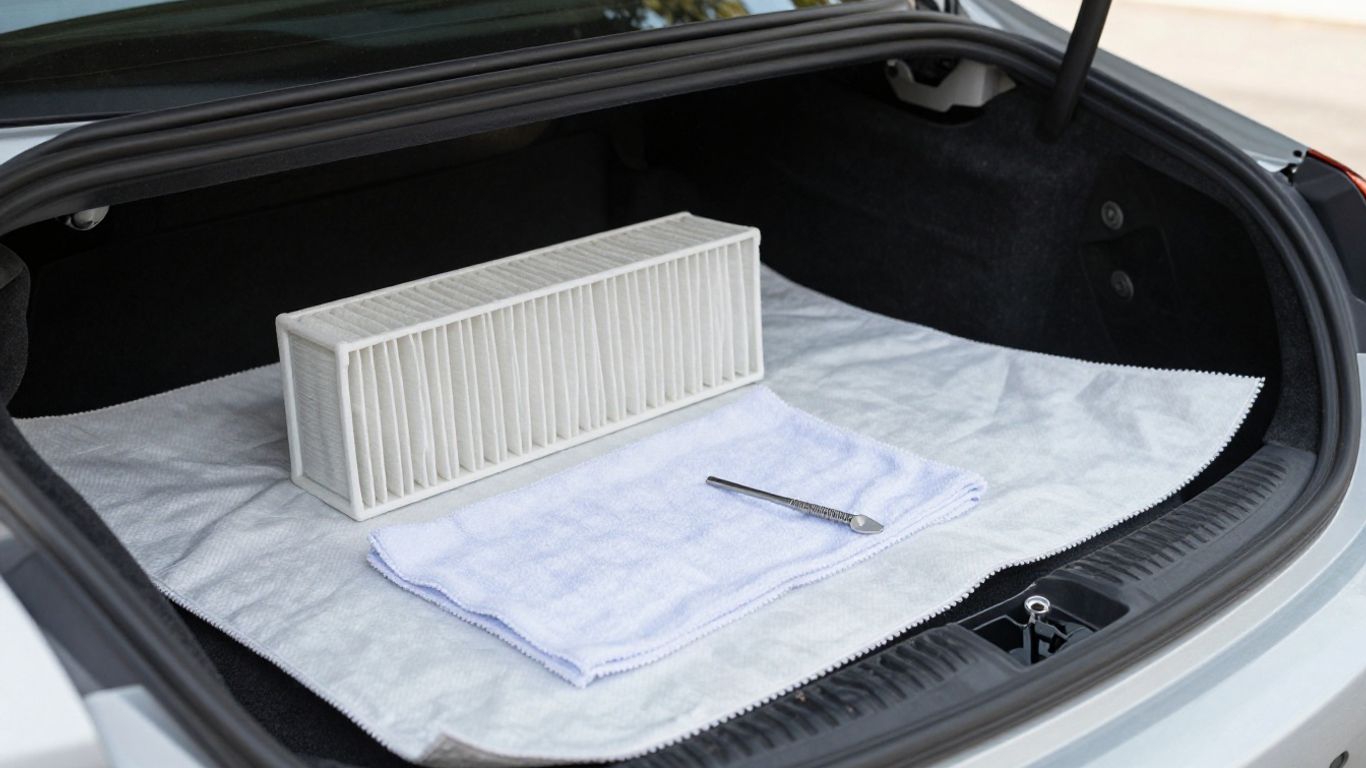
Confirm your Mercedes model, year, and filter specifications
Use the vehicle identification details and the parts information for your exact model year to check fitment. Compare the replacement’s dimensions and listed application with the existing part where possible, and check whether the procedure calls for one filter or more. Australia’s trusted Car Parts Supplier connects customers with quality used, genuine, and aftermarket parts through the best car parts network, with finding the right part made fast and affordable across Melbourne, Sydney, Brisbane, and nationwide. Confirm the application with the supplier or vehicle documentation before you buy; the business’s broad parts network does not replace checking the specific fitment.
Compare standard, activated-carbon, and premium filters
Filter descriptions vary, so compare the actual specifications rather than assuming that labels mean the same thing across manufacturers. The table below offers a simple way to organize the questions to ask when weighing common categories.
| Filter description | What to check | A useful consideration |
|---|---|---|
| Standard | Listed vehicle application and dimensions | A straightforward choice when it matches the required specification |
| Activated-carbon | Product description and fitment details | Check what the manufacturer says it is designed to address |
| Premium | Filter construction and stated features | Compare documented features with your needs and budget |
No category is automatically right for every driver or vehicle. For example, an activated-carbon product is worth considering only if its stated features and fitment suit your requirements. A selection guide for a pickleball birthday gift might sort options by skill level; here, the useful filters are vehicle fitment, documented features, and the maintenance information for your model.
Gather basic tools and protect the interior
The tools required depend on the access method, so check the vehicle-specific instructions before starting. Keep small fasteners together and protect the passenger footwell or nearby trim from dust. A short preparation list can keep the process calm:
- Replacement filter confirmed for the vehicle
- Trim tool or screwdriver, if the procedure specifies one
- Clean cloth or small bag for loose debris
- Floor covering to protect the interior
Lay everything within reach before removing a panel. As with Holman Moving, where packing and unpacking help can be tailored to particular rooms or fragile items, the practical lesson here is to protect what is around the work area—but the vehicle trim still needs gentle, vehicle-specific handling. The best car parts network can help customers find parts nationwide, but always verify the exact filter application for your car.
Locate and access the filter compartment
The cabin filter compartment is not in the same place on every vehicle, and even similar model names can have different access procedures by year or configuration. Check the service information for your specific vehicle before removing anything. Some filters are reached from inside the cabin, while others may be accessed from the engine-bay side. Work slowly, since clips and electrical connections can be damaged if trim is pulled without checking how it is retained.
Check whether the filter sits behind the glove box or under the hood
Depending on the vehicle configuration, access may be behind the glove box, near a passenger footwell panel, or under the hood near the base of the windshield. Do not assume a location based only on another Mercedes model or a video showing a different year. A Mercedes cabin-filter walkthrough can provide an example of locating and accessing cabin filters, but confirm that the procedure matches your vehicle before following it. If you cannot verify the location, pause and consult the correct service information.
Remove covers and trim carefully
Once you have identified the compartment, check for screws, tabs, clips, or connectors before moving a panel. Use the appropriate tool and release each retainer gently rather than levering hard against the trim. If a connector must be moved for access, follow the vehicle instructions and do not tug on its wires. Put removed parts and fasteners somewhere secure so you can return them to their original positions.
Note the filter’s position and airflow direction
Before pulling the old filter out, look for an airflow arrow on its frame or a direction marking on the housing. Note which edge faces up or toward the cabin, and whether the filter folds or slides into its slot. A quick photo can help if the orientation is not obvious once the part is removed. These small details make it easier to install the new filter without having to guess.
Remove the old filter and inspect the housing
Removing the filter is usually a small job, but a dirty part can shed dust or leaves as it comes out. Keep the opening pointed away from the cabin where practical, and avoid shaking the filter. Once it is out, inspect both the old part and the housing before installing anything. That brief check can reveal whether the issue is simply a loaded filter or something that needs more attention.
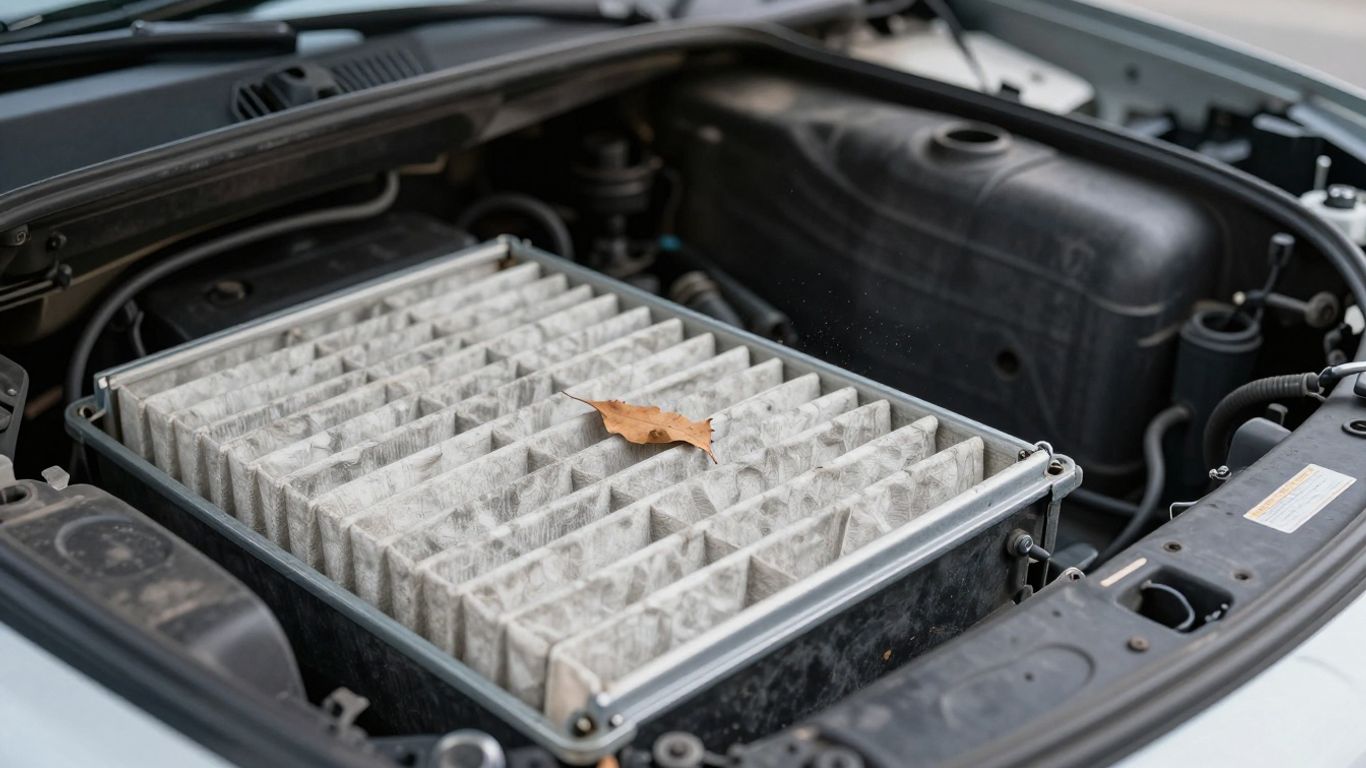
Ease out the filter without scattering debris
Pull the filter in the direction its compartment allows, using a steady hand and supporting its edges where possible. If it catches, stop and check whether a cover, retaining tab, or trim piece is still in the way. Forcing it can bend the frame or spill debris into the duct. A bag placed nearby can catch loose dust, and a close look at the filter’s orientation will help you compare it with the replacement.
Check the housing for leaves, dust, or moisture
With the filter removed, inspect the accessible housing for leaves, dust buildup, and signs of moisture. Remove loose debris carefully without pushing it farther into the ventilation system. If you find dampness, residue, or a persistent musty smell, consider whether the source extends beyond the filter compartment. A filter change may not address a separate issue, just as a household appliance problem may require its own assessment rather than a routine replacement; dishwasher repair is one example of a distinct household service. Keep the vehicle diagnosis focused on what you can actually see and verify.
Look for damage that may need professional attention
Check for cracked plastic, broken clips, damaged seals, or parts that no longer sit securely. Also stop if access requires disconnecting something you are unsure how to handle. A filter replacement should not involve forcing a panel back into place or leaving a connector loose. If you find damage or cannot safely complete the access steps, have a qualified technician inspect it.
Install the replacement filter
Before fitting the new part, compare it with the one you removed: the shape, dimensions, and frame should match the compartment. Recheck the markings and airflow direction rather than relying on memory. The filter should sit naturally in its track and allow the cover to close as designed. Take care not to crease or crush the filter media while working in a tight space.
Align the airflow arrow with the housing markings
Look for an airflow arrow printed on the replacement and compare it with the direction indicated by the housing or vehicle instructions. “Airflow” and “up” markings are not necessarily interchangeable, so follow the specific labels you can see. If there is no visible marking, use the orientation you recorded and confirm it against reliable vehicle information. Correct direction matters because the filter is designed to sit in a particular airflow path.
Seat the filter evenly without bending or forcing it
Guide the filter into its channel evenly, keeping its edges aligned with the housing. If it resists, back it out and check for a misaligned corner, folded edge, or obstruction rather than pushing harder. The frame should remain straight, and the filter should be fully seated before you replace the cover. A part that appears to fit only when bent may be the wrong specification or incorrectly positioned.
Refit the cover and any removed trim
Reinstall the cover and trim in the reverse order of removal, taking care to return each fastener and connector to its original position. Check that tabs engage and panels sit flush instead of leaving a gap. Do not overtighten fasteners or force a clip that will not align. If a cover will not close normally, remove it and recheck that the filter is seated correctly.
Test the ventilation system and record the service
After reassembly, test the system before considering the job finished. Start with a low fan setting and increase it gradually, paying attention to airflow and sound. Check whether the original symptoms have changed, while remembering that a new filter cannot necessarily resolve odors or ventilation problems caused elsewhere. A brief record of the work makes future maintenance easier to plan.
Run the fan at several speeds to check airflow
Turn the ventilation on at several fan speeds and check that air flows from the expected vents. Compare the feel of the airflow with what you noticed before replacement, without expecting a dramatic change if the old filter was still relatively clean. If airflow is unusually weak or uneven, recheck that the filter is seated and the cover is secure. Persistent problems may need a separate inspection.
Listen for unusual noise and check for lingering odors
Listen for rattling or a new whistling sound, which may indicate that a cover or trim panel is not fitted securely. Check for lingering odors after the fan has run for a short time. If the smell remains, avoid assuming that another filter will solve it; the source may be elsewhere in the ventilation system or cabin. Record what you observe so you can describe it clearly if you seek professional help.
Record the replacement date and mileage
Write down the date, mileage, and filter specification, then keep the information with your service records. It gives you a straightforward reference for the next inspection and can help distinguish a recurring symptom from a one-time issue. Note unusual driving conditions too, such as frequent dusty-road use. That small habit turns the next filter check into a more informed decision.
Conclusion
A careful cabin-filter replacement starts with the correct fitment information and ends with a simple ventilation check. Work gently around trim, follow the airflow markings, and pause if the housing or surrounding parts show damage. With the service date and mileage recorded, you will have a clear starting point for the next inspection.
Frequently Asked Questions
How often should a cabin air filter be replaced?
Follow the maintenance schedule for the specific vehicle and adjust your inspection timing if driving conditions are particularly dusty or symptoms appear. The recommended interval can differ by model and year.
What are common signs that a cabin filter may need attention?
Reduced airflow, an unusual cabin odor, or increased dust can be reasons to inspect it. These symptoms can have other causes, so they do not confirm by themselves that the filter is the problem.
Where is the cabin filter located?
The location varies by vehicle and configuration. It may be accessed from the cabin or from under the hood, so check the correct service information before removing trim.
Can I replace a cabin air filter myself?
Many replacements are manageable for a careful DIYer, but the access steps vary. Follow vehicle-specific instructions and get professional help if a panel, connector, or housing is difficult to handle safely.
Does the airflow arrow on a cabin filter matter?
Yes. Follow the airflow marking on the filter and any direction indicators on the housing. If the labels are unclear, verify the correct orientation before installation.
What should I do if the new filter does not fit?
Do not bend or force it. Check the filter application, dimensions, orientation, and whether the old part was removed completely. If it still does not seat naturally, confirm fitment before continuing.
Why might an odor remain after replacing the filter?
The odor may come from another part of the ventilation system or cabin, or from moisture or debris beyond the filter itself. If it persists, investigate the source rather than repeatedly replacing the filter.