

Key Takeaways
A careful filter change starts with identifying which filter you mean, then checking the schedule and fitment for your specific vehicle. Work patiently, and stop if access or installation does not look straightforward.
- The engine filter and cabin filter serve different parts of the vehicle.
- Use the maintenance schedule and inspect filter condition rather than relying on one interval for every model.
- Confirm the replacement part and its orientation before removing the old filter.
- Keep the airbox and cabin access area clean, and make sure every cover is secured afterward.
- Get help if a panel, clip, connector, or replacement filter does not fit as expected.
Identify which Mercedes air filter needs changing
A Mercedes air filter change can refer to two separate jobs, and knowing which one you need makes the rest of the work clearer. The engine filter and the cabin filter sit in different areas and serve different purposes. Before buying a part or opening a housing, check the vehicle’s model, year, and engine details.
Engine air filter versus cabin air filter
The engine air filter sits in the intake path and helps keep debris out of the engine. The cabin filter helps clean air entering the passenger compartment through the heating and ventilation system. A change in engine performance or airflow inside the cabin points to different possible causes, so it is useful to identify which filter you are checking before starting.
Where each filter is typically located
The engine filter is usually inside an airbox in the engine bay. A cabin filter may be accessed from behind a panel in the passenger compartment or from an area near the base of the windscreen; the arrangement varies by vehicle. Look up the access point for the exact model before removing trim or reaching around wiring.
How to confirm the correct filter for your model and year
Use the vehicle identification details and parts information to confirm the replacement filter, rather than relying on appearance alone. Similar model names can cover different years, engines, or configurations, and the part dimensions or seal shape may differ. For a specific older C-Class, this C-Class filter walkthrough can offer context, but verify that its instructions match your vehicle before following them.
Check replacement intervals and filter condition
Filter service timing is not identical across every model, so start with the maintenance schedule for your vehicle. Driving conditions and what you see during an inspection can also affect whether a filter needs attention sooner. The aim is to make a reasoned decision, not to replace parts based on a guess.
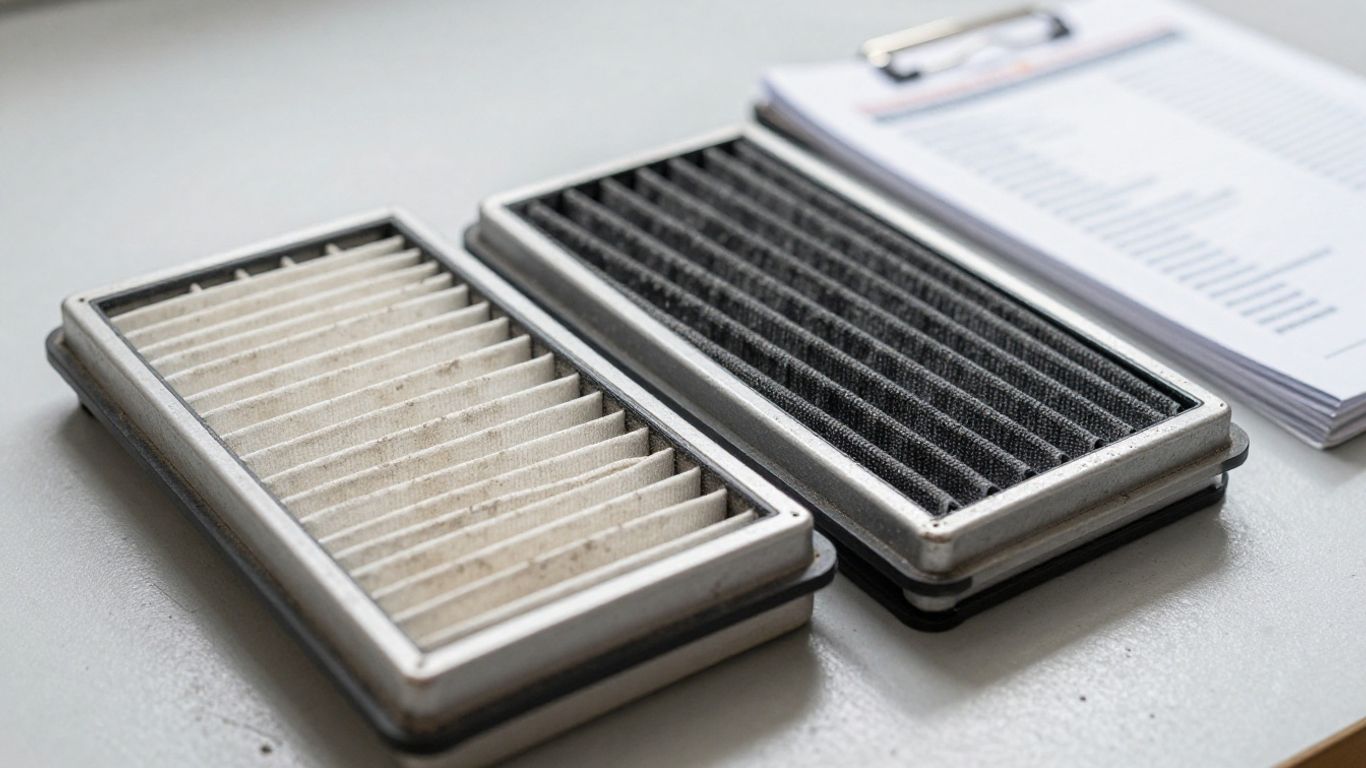
Use the maintenance schedule for your specific Mercedes
Check the service information for the exact model year and engine, and note whether it gives a time, distance, or inspection-based interval. If the service history is incomplete, an inspection can help establish the filter’s current condition. The same habit of checking the relevant instructions before acting appears in very different planning guides, from Menehune Shores travel advice to a Visa Bulletin guide; for vehicle maintenance, the schedule for your own model is the one that matters.
Consider driving conditions such as dust and heavy traffic
A vehicle driven frequently on dusty roads may collect debris in its filters sooner than one used mostly in cleaner conditions. Heavy traffic can also mean more time spent drawing air from a busy road environment, particularly for the cabin filter. These factors do not replace the maintenance schedule, but they are useful context when deciding whether to inspect a filter between scheduled services.
Look for signs of a clogged or damaged filter
An engine filter that is visibly loaded with dirt, torn, or misshapen deserves attention; so does a cabin filter that is damaged or obstructed by debris. Reduced airflow from the vents may be a reason to check the cabin filter, though other parts of the ventilation system can cause similar symptoms. A quick inspection should be grounded in the filter’s actual condition, not just its age or appearance from the outside.
A simple comparison can help keep the two checks separate:
| What you are checking | Where to look | What to assess |
|---|---|---|
| Engine air filter | Airbox in the engine bay | Dirt, tears, and correct shape |
| Cabin air filter | Model-specific cabin access point | Debris, damage, and airflow direction |
| Service timing | Vehicle maintenance information | Scheduled interval or inspection guidance |
| Replacement part | Parts information for the vehicle | Correct fit and sealing edges |
Use the table as a starting point, not as a substitute for model-specific instructions. If the filter looks clean but a warning light or airflow problem remains, the underlying issue may be elsewhere.
Prepare for an engine air filter change
Set up before opening the airbox so you do not have to leave the housing exposed while searching for a tool or replacement part. The access method varies, but a careful change usually depends on a correct filter, a clean work area, and patience with clips or fasteners. If the fitment or access differs from what you expected, pause and check the vehicle-specific procedure.
Gather the right replacement filter and basic tools
Confirm the part number or fitment against the vehicle details, then compare the new filter’s outline and sealing edge with the installed one. Keep any tools specified by the service instructions nearby; some housings use clips, while others use fasteners. A guide to WordPress help in Reading concerns a different kind of maintenance, but its broad reminder to understand the job before starting applies here: have the right information and equipment at hand.
A few simple checks before opening the housing can prevent avoidable delays:
- Verify the replacement filter matches the model and engine.
- Gather the tools required for the housing fasteners.
- Make room to set the old filter down without spreading dust.
- Keep a clean cloth available for loose debris in the airbox.
Then compare the new part with the old one before installation. If their shape or sealing edges are clearly different, do not try to force the part into place.
Park safely and let the engine cool
Park on a stable, level surface, switch the vehicle off, and allow hot engine components to cool before working in the engine bay. Keep the key or start control away from accidental use while your hands are near the housing. Good visibility matters too; working in adequate light makes it easier to see small clips and check that the cover sits evenly.
Note the airbox layout before opening it
Before undoing anything, look over the housing and take a photo if the route of a duct, connector, or retaining clip is not obvious. This gives you a reference when putting things back and can help avoid pulling on a wire or hose by mistake. In practical work, the order and condition of supplies matter in other settings too, as a guide from New Star Company WLL notes in its discussion of dental supplies; here, keep the parts you remove organized and protected from dirt.
Replace the engine air filter
Once the correct part is ready and the engine bay is cool, open the housing only as far as needed to remove the filter. Avoid rushing: a small clip or seal can be damaged if the cover is twisted or pried unevenly. If the housing layout does not match the instructions you have, stop and confirm the procedure for the vehicle.
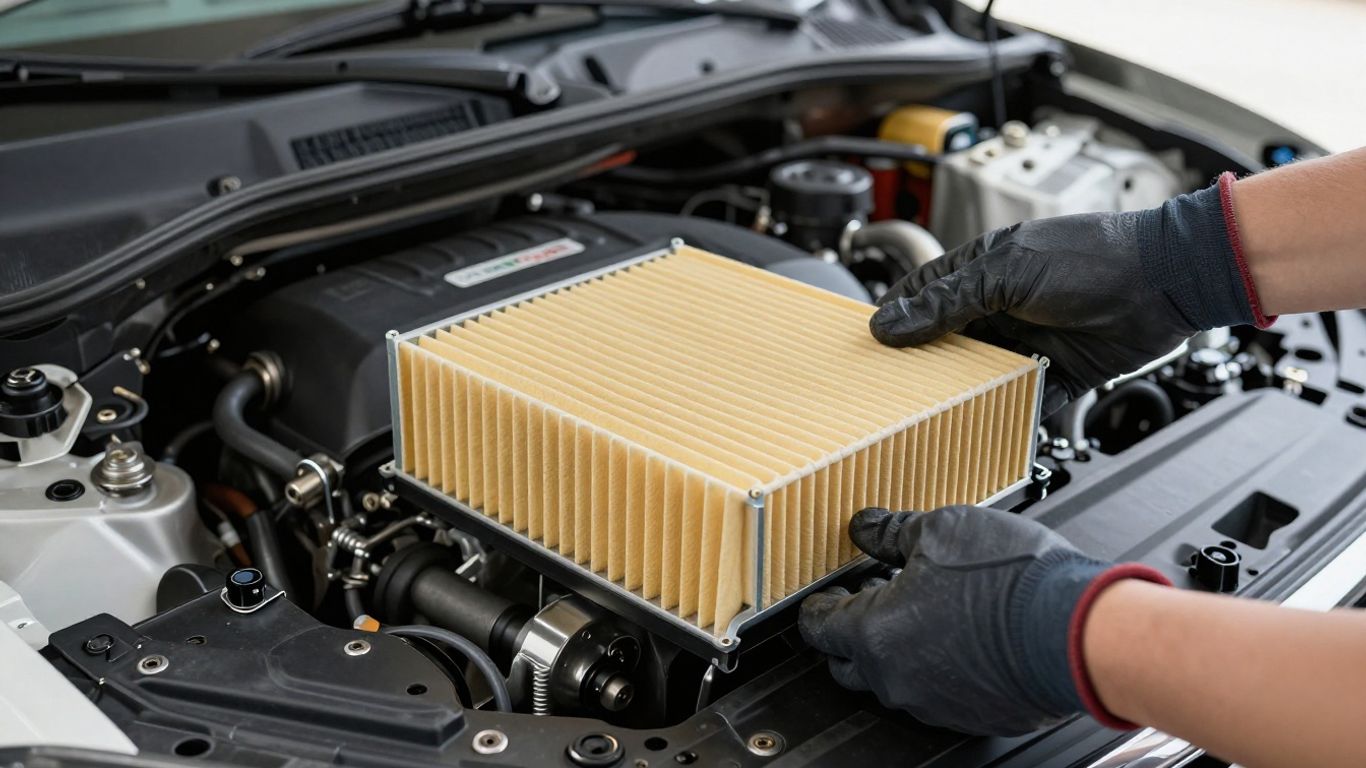
Open the airbox without straining its clips or wiring
Release the housing clips or fasteners using the specified method, supporting the cover as it comes free. Some arrangements may have an attached duct or nearby wiring, so avoid pulling the cover away sharply. For a model-specific example, an owner discussion offers W211 airbox guidance; treat it as an example, not a universal procedure for other model years or configurations.
Remove the old filter and inspect the airbox
Lift out the old filter while keeping loose dust from falling into the intake opening. Look for debris, damage, or signs that the filter has not been seated evenly. If the housing contains loose dirt, remove it carefully with a clean cloth, taking care not to push debris farther into the intake path.
Seat the new filter and secure the housing
Set the new filter into the airbox in the same orientation as the old one, following the vehicle instructions and any airflow markings. Check around the perimeter: the seal should sit flat, with no folded edges or gaps. Then refit the cover and secure its clips or fasteners evenly; a filter that is pinched or a housing that is left ajar can undermine the work.
Replace the cabin air filter
Cabin filter access can differ substantially between model years, so find the correct instructions before removing a glovebox, trim panel, or cover. Keep track of the direction the old filter faces, because an arrow on the replacement may indicate the required airflow direction. Work gently around trim and connectors, which can be awkward to reach.
Find the cabin filter access point for your model
Check the vehicle-specific service information to locate the cabin filter and learn how its access panel is retained. Depending on the design, access may involve an interior panel or a cover near the windscreen. Do not pry at trim until you know where its tabs and fasteners are; a panel that resists may still be secured at another point.
Remove the old filter and note its airflow direction
Ease the old filter out without shaking dust into the cabin, and note which way its airflow arrow points if one is present. If there is no marking, record the filter’s orientation before removing it. This small reference can prevent uncertainty when you fit the replacement, especially when the access space makes it hard to see the filter clearly.
Install the new filter and refit the access panel
Align the replacement filter with the recorded direction and slide it into place without bending its frame. Check that it sits evenly and does not catch on surrounding parts. Refit the access panel and any removed trim in the reverse order, making sure fasteners engage rather than forcing a loose or misaligned panel.
Check your work and decide when to get help
A careful finish is part of the job: confirm the airbox or cabin panel is secure before using the vehicle. Then check for any warning lights or change in airflow that was not present before. If something seems wrong, revisit the installation and seek help rather than assuming a new filter will resolve every symptom.
Confirm the housings and panels are fully secured
Look around the engine airbox for an even cover fit, secured clips, and hoses or connectors returned to their original positions. For a cabin filter, check that the access panel and trim sit flush. Loose parts can rattle or allow air to bypass the filter, so take a moment to check each edge before closing the bonnet or moving on.
Watch for warning lights or unusual airflow after the change
After starting the vehicle, notice whether any warning lights appear and whether the ventilation airflow seems normal. A filter change may not correct a warning light or a ventilation problem caused by another fault. If a new symptom appears, switch off when appropriate and inspect only what you can safely access; do not keep driving if the vehicle indicates a serious problem.
Ask a Mercedes specialist for help with difficult access or fitment problems
Get assistance if access requires force, a clip breaks, wiring is in the way, or the replacement does not seat correctly. A specialist can help confirm fitment and investigate symptoms that remain after a filter inspection. For a broader example of careful preparation for a scheduled service, Karma Hill Photography offers planning for a different kind of appointment; for vehicle concerns, seek advice from someone qualified to work on your vehicle.
Conclusion
A successful filter change is mostly about identifying the right filter, confirming the fit, and working without rushing. Follow the schedule and access instructions for your vehicle, inspect the filter rather than assuming its condition, and ask for help if anything does not fit or secure properly.
Frequently Asked Questions
What is the difference between an engine air filter and a cabin air filter?
The engine air filter protects the engine’s intake from debris, while the cabin filter helps clean air entering the passenger compartment through the ventilation system.
How often should an air filter be changed?
Use the maintenance schedule for the specific vehicle, then consider driving conditions and the filter’s observed condition when deciding whether it needs attention sooner.
Can I change an engine air filter myself?
Many are accessible with basic tools, but the exact procedure varies. Check the vehicle-specific instructions and stop if access or fitment is unclear.
How do I know which replacement filter fits?
Confirm the part against the vehicle’s model, year, and engine details. Do not rely on visual similarity alone, since filter shapes and seals can differ.
Which way should a cabin air filter face?
Follow the airflow arrow on the filter and the vehicle instructions. If the old filter has no visible marking, note its orientation before removing it.
Can a dirty cabin filter reduce airflow?
A clogged or obstructed cabin filter can be one possible reason for reduced airflow, but the ventilation system may have other causes that need inspection.
What should I do if the filter housing will not close?
Do not force it. Check that the filter is the correct part, sits evenly, and is oriented properly; seek help if the cover still will not secure.