

Key Takeaways
A Mercedes air conditioning problem can come from a simple setting, restricted airflow, low refrigerant, or a deeper electrical or mechanical fault. Start with the symptoms, avoid unsafe refrigerant work, and match the repair to the actual cause.
- Separate warm air, weak airflow, and no airflow before diagnosing.
- Check climate settings, the cabin filter, vents, fuses, and unusual sounds.
- Low refrigerant usually points to a leak rather than a permanent fix.
- Compressor, fan, sensor, and blower faults need different tests.
- Professional diagnosis can prevent unnecessary parts replacement.
Start with the symptoms and basic checks
When the Mercedes air conditioning not working complaint first appears, resist the urge to assume the compressor has failed. The character of the problem gives useful direction: air can be warm, airflow can be weak, or the blower may be completely silent. A few basic checks can rule out an incorrect setting or an obstructed vent before the vehicle goes into a shop.
Identify whether the air is warm, weak, or not blowing
Set the temperature to its lowest setting and note what comes from each vent. Strong airflow that never gets cool suggests a refrigeration or control issue, while a small amount of air points more toward the filter, blower, or air-distribution system. If no air comes out at any speed, the problem is probably upstream of the cooling circuit.
Also compare the result at idle and while driving. Cooling that changes with engine speed or road speed is a useful clue, but it does not identify one failed part by itself. Record when the symptom occurs, including outside temperature and whether the issue affects every vent.
Check the climate control settings and operating modes
Confirm that the system is set to cooling rather than heating, defrost, or an unusual ventilation mode. Check the selected temperature, fan speed, recirculation setting, and left-right temperature controls where fitted. An automatic climate system may reduce fan speed briefly as it adjusts, so give it a moment before deciding it has stopped working.
If the system has separate zones, set both sides to the same temperature for the first test. Turn the system off, restart the vehicle, and try the controls again. These small checks are especially useful when the complaint began after a battery event or an accidental change to the control panel.
Inspect the cabin air filter and dashboard vents
A dirty cabin air filter can restrict the volume of air reaching the interior, even when the refrigeration side is operating. Look for leaves, dust, or other debris around accessible intake and vent openings. Do not push objects into the vents, since the obstruction may move deeper into the ductwork or damage a flap.
The filter location and replacement procedure vary by model and year. If airflow improves noticeably after a correct filter replacement, the restriction may have been the main issue. If airflow remains weak, the blower motor, resistor, evaporator surface, or air-distribution doors may need further testing.
Listen for unusual noises when the AC turns on
With the hood open and the cabin quiet, listen for changes when cooling is requested. A brief click, a belt squeal, grinding, or repeated cycling can help a technician narrow the inspection. Noise alone is not proof of compressor failure, because tensioners, pulleys, fans, and other nearby components can sound similar.
Avoid reaching near belts or fans while the engine is running. Write down whether the noise follows engine speed, appears only when the AC is selected, or continues after the system is switched off. That description is often more useful than simply reporting that the system sounds strange.
Understand the most common causes
The air conditioner depends on several connected systems: refrigerant circulation, heat rejection, electrical control, airflow, and cabin temperature regulation. A fault in one area can imitate a fault in another. Understanding the usual causes makes it easier to discuss testing and avoids treating a recharge as a universal cure.
Low refrigerant from a leak
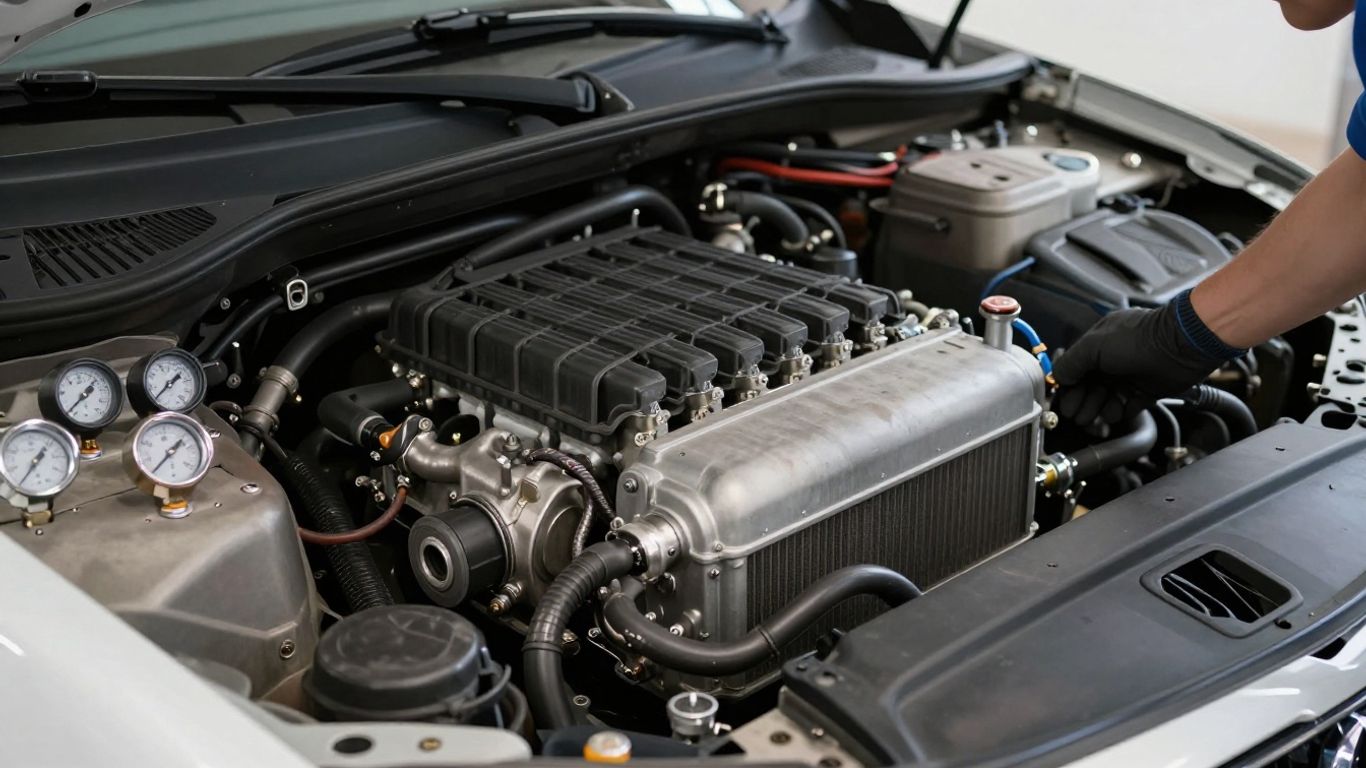
Refrigerant does not normally disappear simply because the system is old. If the charge is low, a leak may exist at a hose, seal, fitting, condenser, evaporator, or service connection. Low pressure can also cause the system to prevent compressor operation, leaving the cabin with warm air even though the control panel appears normal.
A recharge may restore cooling for a short time, but the result is temporary if the leak remains. The right next step is a leak check followed by recovery, repair, evacuation, and charging with the specified refrigerant amount. Different vehicles can require different refrigerants and quantities, so the under-hood label and service information matter.
A faulty AC compressor or clutch
The compressor circulates refrigerant through the cooling circuit. Depending on the vehicle design, engagement may be controlled by a clutch, an electronic valve, or another control strategy. A seized compressor, worn bearing, damaged clutch, or inadequate electrical supply can produce poor cooling, noise, or a system that refuses to engage.
A compressor should not be condemned only because it does not turn on. Low pressure, a blown fuse, a sensor signal, or a control-module decision may be preventing engagement. Testing the command and the power supply first can distinguish a failed compressor from a compressor that is being correctly protected.
Electrical, fuse, and relay problems
The climate system relies on fuses, wiring, relays, sensors, control modules, and motors. A blown fuse may be the visible symptom of a short or an overloaded component rather than the original fault. Loose connectors, corrosion, or damaged wiring can also create intermittent operation.
A replacement fuse should always have the specified rating. Installing a larger fuse can damage wiring and increase fire risk. A technician may need to test voltage under load and inspect the circuit diagram rather than relying on a visual fuse check.
Blocked condenser or damaged cooling fan
The condenser releases heat from the refrigerant, so it needs adequate airflow. Road debris, dirt, bent fins, or a fan that does not operate can reduce cooling, particularly when the vehicle is stationary or moving slowly. The system may feel better at highway speed because natural airflow temporarily compensates for a weak fan.
Do not place hands near a cooling fan simply because it is not running. Fans can start unexpectedly, and some vehicles command them on after a temperature or climate request. A safe inspection looks for obstruction and visible damage with the engine off, followed by proper electrical testing.
Defective climate control sensors or modules
Temperature sensors and control modules help decide how much cooling and airflow the cabin needs. A faulty sensor can report an implausible temperature, while a module or actuator problem can send air to the wrong outlet or regulate one zone incorrectly. These faults may leave the compressor and blower mechanically healthy.
The most useful clue is often an unusual pattern: one zone differs from the other, the temperature changes without input, or the system cycles at unexpected intervals. A scan and actuator test can be more revealing than replacing a refrigeration component based only on cabin temperature.
Diagnose Mercedes AC problems safely
Diagnosis should move from observation to measurement, not from symptom to expensive part. Air-conditioning refrigerant is stored under pressure, and the circuit should be opened only with the right recovery equipment and procedures. A careful inspection also protects the compressor from damage caused by contamination, incorrect charge, or a persistent leak.
Check compressor engagement and refrigerant pressure
A technician can observe whether the compressor receives an operating command and whether it responds appropriately. Pressure readings taken with suitable equipment can show whether the charge is low, the system is overcharged, airflow is inadequate, or a restriction may exist. One gauge reading by itself is rarely enough to identify the failed component.
The compressor may intentionally remain off when pressure or temperature readings fall outside safe limits. For that reason, forcing engagement or adding refrigerant blindly is risky. The findings should be compared with the vehicle’s specifications and the ambient conditions during testing.
Test the condenser fan and airflow
The condenser fan should be assessed for power, ground, control signal, physical damage, and correct operation. A fan that works only intermittently can be difficult to catch unless the system is tested while hot and under the same conditions that produce the complaint. Airflow through the condenser should also be checked for debris and blocked fins.
Useful observations include whether the AC becomes warmer at a stop, whether the engine temperature changes, and whether the fan starts when cooling is requested. These clues can guide testing, but they do not replace electrical measurements. A broad Mercedes AC troubleshooting guide also places compressor, refrigerant, and fan concerns among the common areas to consider.
Scan for climate control fault codes
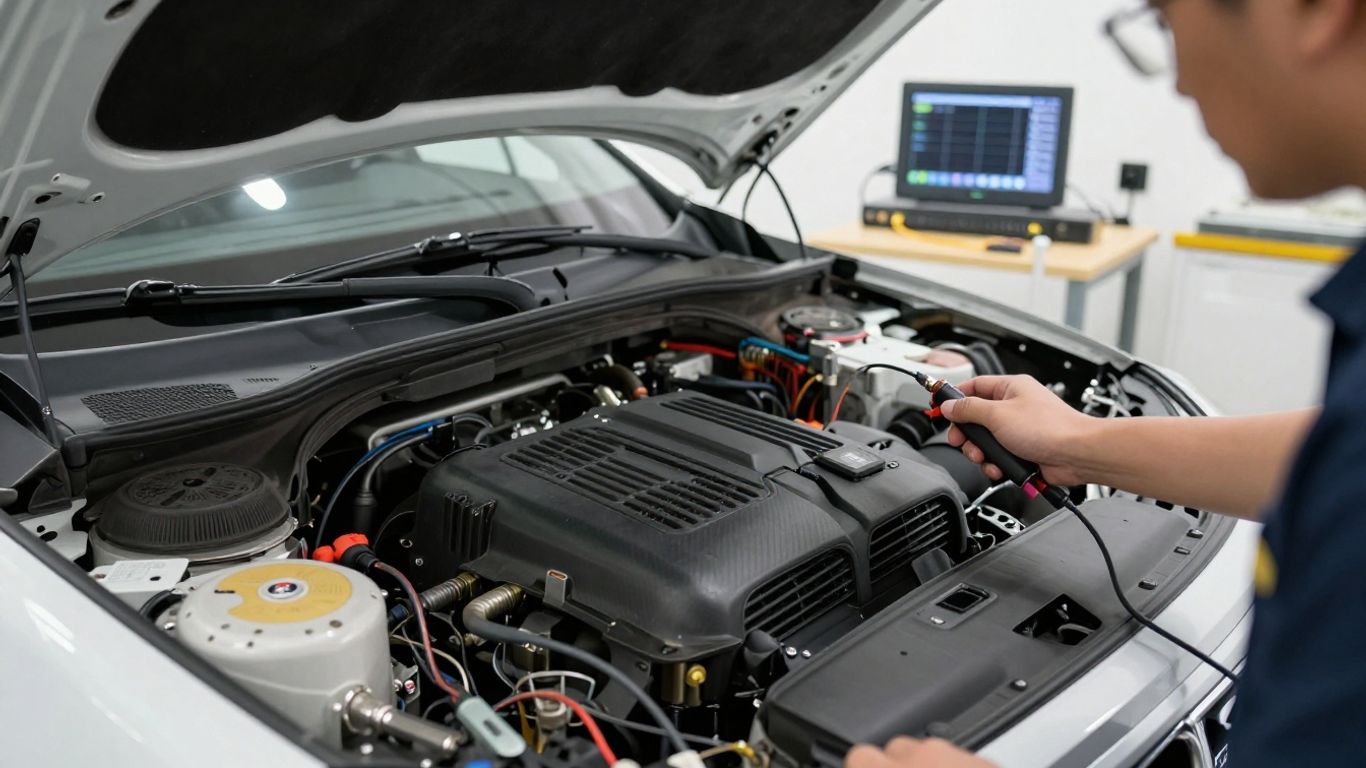
A scan tool that can communicate with climate-control electronics may reveal stored or current faults. Codes can point toward a sensor circuit, actuator, communication issue, or power supply problem. They are evidence for the next test, not an automatic parts list.
Some intermittent faults may not remain active after the system begins working again. Save the codes and the operating data before clearing anything. If a repair is made, rescanning and checking the system under the original conditions helps confirm that the cause—not just the symptom—has been addressed.
Inspect refrigerant lines for signs of leakage
Look for oily residue around fittings, hose connections, the condenser, and other accessible components. Refrigerant leaks can be small and may leave little visible evidence, so a technician may use an approved leak-detection method. The evaporator and other concealed parts may require more involved testing.
Never use an open flame or an improvised chemical method to search for a leak. The refrigerant circuit, refrigerant type, and leak-detection procedure must be handled according to the vehicle and equipment requirements. A written record of where leakage was found is helpful when comparing repair options.
Know when professional diagnostic equipment is needed
Professional help is the sensible choice when the compressor will not engage, refrigerant must be recovered, fault codes are present, or the system has been opened. It is also warranted when cooling is intermittent or when a fuse fails again after replacement. A qualified shop can combine pressure, electrical, scan, and leak-testing results.
A basic home observation is still valuable. Bring the technician the exact conditions, such as “warm only at idle” or “blower silent on every speed,” rather than asking for a recharge before diagnosis. That shortens the path to the actual fault.
Match symptoms to likely Mercedes AC faults
Symptoms narrow the field, but they rarely identify a single part without testing. The same warm-air complaint can result from low refrigerant, poor condenser airflow, compressor control, or a sensor problem. Use the patterns below as a starting point for questions, not as a substitute for measurements.
AC blows hot air while driving
Hot air at all speeds may indicate low refrigerant, a compressor that is not operating, a control fault, or an air-mixing problem. If the blower is strong but the temperature never drops, focus first on the cooling request, compressor command, pressure, and refrigerant circuit. If the air is only mildly warm, door operation and sensor readings may also deserve attention.
The timing matters. A sudden change can follow a leak or electrical failure, while gradual loss of cooling often points toward a developing leak or declining component performance. Avoid assuming that a full-looking reservoir or unrelated engine-fluid level says anything about AC charge.
AC is cold only at higher speeds
Cooling that improves on the highway often raises two possibilities: insufficient condenser airflow at low speed or a refrigerant charge that is not correct. A weak condenser fan, blocked condenser, or fan-control problem can make the difference especially noticeable when the car is stopped.
It is also worth checking whether the compressor cycles normally and whether pressure changes remain within specification. A road-speed improvement is a clue, not confirmation of a fan fault. Reproduce the issue safely and tell the technician whether it appears in traffic, at idle, or only after the vehicle warms up.
Air conditioning works intermittently
Intermittent operation may come from a loose connection, failing relay, temperature sensor, control module, compressor clutch, or a pressure condition that makes the system protect itself. Heat and vibration can expose an electrical weakness that is invisible during a brief shop inspection.
Keep a simple record of the failure. These details can be useful:
- Whether the blower continues when cooling stops.
- Whether cycling the controls restores cooling.
- Whether the fault appears after rain, heat, or a long drive.
- Whether warning lights or unusual noises occur at the same time.
That pattern helps separate a control issue from a refrigerant or mechanical problem. A fault that disappears before testing may still be diagnosable if the conditions are recorded carefully.
One side blows colder than the other
Uneven temperature can result from separate zone settings, a sensor reading, an air-mixing door, restricted airflow, or an incorrect refrigerant condition. First set both zones alike and compare the vents after the system has had time to stabilize. If one side remains different, actuator and sensor testing becomes more relevant.
A partially restricted vent or filter can exaggerate the difference, so airflow volume should be compared as well as temperature. Avoid judging the entire system by placing a hand at only one outlet; a thermometer and a consistent test procedure provide better information.
The blower motor does not operate
If no air leaves the vents, check the selected fan speed and listen for any motor response. A failed blower motor, resistor or speed controller, fuse, relay, wiring fault, or control signal can all produce silence. This symptom generally belongs to the airflow and electrical side rather than the refrigerant side.
A blower that works only on one speed may point toward its speed-control component, while a blower that stops after warming up may have an internal motor fault. Do not bypass a fuse or feed power directly into a connector unless the wiring and test procedure are understood.
Decide between repair and component replacement
The least expensive-looking option is not always the most durable one. A recharge can be appropriate when the system has been properly tested and the charge is only being corrected, but it is not a repair for an active leak. The final choice should account for the failed part, contamination risk, labor access, and the condition of connected components.
When an AC recharge may solve the problem
A recharge may restore cooling when the system is slightly undercharged and no leak is found, or when a previous service left the charge incorrect. The refrigerant should be recovered and weighed, then the system should be charged to its specified amount. Overcharging can reduce performance and place additional stress on components.
If cooling fades again soon after service, treat that as evidence requiring follow-up. The car may have a small leak that was not found initially, or another fault may have been mistaken for low charge. A repair invoice should state what was measured and how much refrigerant was added.
Why refrigerant should not be added without leak testing
Adding refrigerant without finding the reason for low pressure can release more refrigerant into the atmosphere and postpone the real repair. It can also create an incorrect charge if the starting amount is unknown. Leak testing comes first when low refrigerant is suspected.
A shop can recover the existing charge, test the circuit, repair the source, evacuate moisture, and recharge accurately. That sequence is safer for the system and gives the owner a clearer explanation of the work. DIY refrigerant handling may also be restricted by local regulations and equipment requirements.
Repairing leaks in hoses, seals, and fittings
A leak at an accessible hose, seal, or fitting may be repairable without replacing the compressor or the entire circuit. The replacement part must be compatible with the vehicle and refrigerant system, and the circuit should be clean and properly evacuated afterward. Replacing a seal without checking the mating surface may leave the leak unresolved.
Where the leak is difficult to locate, a technician may need repeated testing or partial disassembly. Ask whether the diagnosis identifies the exact leaking component and whether the proposed work includes a post-repair leak check. That distinction is useful when comparing a lasting repair with a temporary refill.
Replacing compressors, condensers, or expansion valves
A compressor replacement may be necessary when internal damage, seizure, or an unrepairable control fault is confirmed. A damaged condenser or restricted expansion valve can likewise require replacement, but the rest of the circuit should be inspected for debris and contamination first. Installing a new part without correcting the underlying cause can lead to another failure.
The correct procedure varies with the vehicle and the extent of damage. Parts selection, oil quantity, flushing decisions, and evacuation time should follow the applicable service information. Ask the repairer what evidence supports replacement and which related components will be checked.
Comparing repair costs by fault type
Costs vary widely because access, labor time, refrigerant type, and component condition differ between models. A filter or fuse is usually a smaller job than a concealed evaporator or compressor, but a low quote is not useful if it omits leak testing or system cleanup. The following comparison is a practical way to frame the conversation.
| Fault area | Typical work involved | Main cost drivers | Why diagnosis matters |
|---|---|---|---|
| Cabin airflow | Filter, blower, resistor, or wiring check | Access and electrical testing | Cooling parts may be unnecessary |
| Refrigerant leak | Leak location, seal or line repair, evacuation, recharge | Leak location and refrigerant quantity | A refill alone may not last |
| Condenser airflow | Fan test, debris removal, or fan replacement | Fan assembly and control circuit | Road-speed clues can mislead |
| Compressor circuit | Command, clutch, valve, or compressor testing | Part choice, contamination, and labor | Non-engagement may be a protection response |
A written estimate should identify the confirmed fault, the recommended repair, and any follow-up testing. For broader vehicle ownership decisions, an unrelated as-is repair guide can be a useful reminder that repair economics depend on the vehicle’s condition and the owner’s plans, though AC diagnosis itself still needs vehicle-specific evidence.
Prevent future Mercedes air conditioning problems
Routine care cannot prevent every compressor, sensor, or electrical failure. It can, however, reduce airflow restrictions and help you notice a small problem before it becomes a larger one. The best maintenance plan combines regular use, clean air paths, and prompt attention to changes in performance.
Run the AC regularly throughout the year
Operating the system periodically helps keep the controls familiar and makes changes in cooling easier to notice. Use it during cooler months when appropriate, rather than waiting for the first very hot day to discover a fault. Winter operation can also help with cabin moisture and window clearing, depending on the selected mode.
Do not leave the system running if it produces severe grinding, smoke, or a strong burning smell. Those signs call for inspection rather than repeated testing. Regular use is helpful, but it is not a reason to ignore abnormal operation.
Replace the cabin air filter on schedule
A clean filter supports airflow and can reduce the strain on the blower. Replacement intervals depend on the vehicle, environment, and maintenance schedule; dusty roads, smoke, and heavy urban traffic may shorten the practical interval. If the vents become weak or odors appear, inspect the filter sooner.
Use the correct filter size and install it in the indicated airflow direction. A poorly fitted filter can allow debris past the filter or create a bypass leak. Keep the housing clean while the old filter is removed.
Keep the condenser clean and unobstructed
The condenser sits in an area exposed to road debris, insects, and dirt. Periodically inspect the front of the cooling stack with the engine off, looking for packed debris or visibly bent fins. Gentle cleaning is preferable to high-pressure water directed close to delicate fins.
Do not remove protective parts or reach into the fan area during a casual wash. If the condenser is badly damaged or airflow remains poor after surface cleaning, have it assessed. Keeping the front of the vehicle clear supports heat rejection but cannot correct a failed fan or low refrigerant.
Watch for early warning signs
A faint change in cooling, a new odor, water in an unusual place, repeated cycling, or a noise when the system starts can be an early warning. Note when it happens and whether it changes with speed or weather. Early information may make leak and electrical faults easier to reproduce.
A practical ownership routine includes four simple habits:
- Check cooling performance before extreme weather arrives.
- Pay attention to changes in vent strength and temperature balance.
- Record noises, odors, and intermittent behavior.
- Arrange testing instead of repeatedly adding refrigerant.
These habits do not replace service, but they help prevent a minor symptom from being dismissed for months. They also give the technician a more useful starting point.
Follow Mercedes-specific maintenance recommendations
Maintenance instructions vary by model, engine, climate-control design, and refrigerant specification. Use the vehicle’s manual and service information for filter intervals, refrigerant type, oil requirements, and inspection procedures. Generic recharge products or universal assumptions may not suit every system.
A maintenance visit is a good time to mention gradual cooling loss even if the AC still feels acceptable. For general background on system components, a Mercedes air-conditioning overview can help explain how the compressor, condenser, expansion valve, evaporator, and blower fit together. The actual repair decision should still be based on the vehicle’s test results.
Conclusion
When a Mercedes air conditioning problem appears, start by describing the exact symptom and checking the simple causes, then move to pressure, airflow, electrical, scan, and leak testing as needed. A recharge can be useful only when it matches the diagnosis, while compressor, fan, sensor, and blower repairs require different evidence. Careful diagnosis is usually the best way to restore reliable cooling without paying for parts the system does not need.
Frequently Asked Questions
Why is my car AC blowing warm air?
Warm air can result from low refrigerant, a leak, compressor or clutch trouble, poor condenser airflow, an electrical fault, or an air-mixing problem. The symptom needs pressure, control, and airflow testing before one cause can be confirmed.
Can I keep driving with the AC not working?
You can often drive without cabin cooling, but stop and arrange inspection if there is belt noise, grinding, smoke, an electrical smell, overheating, or another warning sign. A failed component may affect more than comfort.
How do I know if the AC is low on refrigerant?
Weak cooling, longer compressor cycling, or cooling that changes with operating conditions can suggest low refrigerant, but these symptoms overlap with fan and compressor faults. Pressure and leak testing are more reliable than guessing from vent temperature.
Will an AC recharge fix a leak?
No. A recharge adds refrigerant but does not repair the opening through which it escaped. If the system is low, the leak should be located and repaired, followed by proper evacuation and charging.
Why does the AC work at speed but not at idle?
The pattern can indicate inadequate condenser airflow, a weak cooling fan, low refrigerant, or a compressor struggling under certain conditions. Testing the fan, pressures, and compressor operation is necessary to separate those possibilities.
Why is one side of the cabin colder than the other?
Uneven temperatures may come from separate settings, a sensor, an actuator or air-mixing door, restricted airflow, or an incorrect refrigerant condition. Equalize the controls first, then have the system tested if the difference remains.
How often should the AC system be checked?
Follow the vehicle’s maintenance guidance and have it checked sooner if cooling weakens, odors appear, noises develop, or operation becomes intermittent. Regular observation is useful even when a formal AC inspection is not scheduled.