

Key Takeaways
A Mercedes check engine light is a warning to investigate, not a diagnosis by itself. The safest approach is to assess urgency, preserve diagnostic data, test likely causes, and verify the repair.
- A steady light usually allows cautious driving, while a flashing light calls for stopping as soon as it is safe.
- Record symptoms and scan codes before clearing anything.
- Common causes include misfires, air-fuel faults, intake leaks, sensor problems, and EVAP leaks.
- A code identifies a monitored fault, not necessarily the part that failed.
- A proper drive cycle and follow-up scan help confirm that the repair worked.
What the Mercedes check engine light means
The check engine light appears when the vehicle’s control system detects a fault in an engine, emissions, or related monitored system. The symbol alone cannot tell you whether the cause is minor or urgent. A careful Mercedes check engine light diagnosis begins by treating the warning as useful information rather than guessing at a replacement part. The Mercedes warning light guide offers another general overview of steady and flashing warnings.
Difference between a steady and flashing warning light
A steady amber light generally means the vehicle has detected a fault that needs attention soon. If the light flashes, the engine may be experiencing an active misfire or another condition that can quickly worsen emissions-system damage. Reduce load, avoid hard acceleration, and stop when safe if the engine is shaking, losing power, or producing unusual smells.
The light’s behavior matters, but it is only one part of the assessment. A car that runs roughly with a steady light can still need immediate attention, while a steady light on an otherwise normal car may allow a short trip to a repair facility.
How Mercedes warning messages provide additional clues
Dashboard messages, reduced-power behavior, rough idle, unusual fan operation, or a related drivetrain warning can narrow the investigation. Write down the exact wording and whether the message appeared during startup, acceleration, cruising, or braking. The common Mercedes causes page can help organize the first possibilities, but the stored data in the vehicle remains more useful than a symptom list alone.
Pay attention to combinations. A warning light with poor acceleration points toward a different diagnostic path than a light that appears with no noticeable change in driving.
Why the light may appear after refueling
A warning that arrives soon after refueling can involve the evaporative emissions system. Start with the simple possibility: check that the fuel cap is properly seated and that its seal is not cracked or damaged. Do not assume the cap is the cause, though; a leak elsewhere in the vapor system can produce similar symptoms.
If the light remains on after the cap is corrected, scan the vehicle rather than repeatedly tightening or replacing parts. The timing is a clue, not proof.
When driving is safe and when to stop immediately
A short, gentle drive may be reasonable when the light is steady, the engine is smooth, temperatures are normal, and no other serious warning appears. Stop and arrange assistance if the light flashes, the engine misfires severely, oil pressure or coolant temperature warnings appear, or the vehicle loses substantial power. Smoke, fuel odor, and loud mechanical noise also change the situation.
When uncertain, choose the conservative option. Continuing to drive can turn a manageable fault into damage to the exhaust system or engine.
Prepare for an accurate Mercedes check engine light diagnosis
Good preparation makes a scan more useful and reduces the temptation to replace parts on speculation. Before connecting a tool, gather the vehicle’s model year, engine information, recent service history, and a clear account of what the car is doing. This section is also a reminder that organized records matter in other technical projects, from website hosting basics to vehicle maintenance.
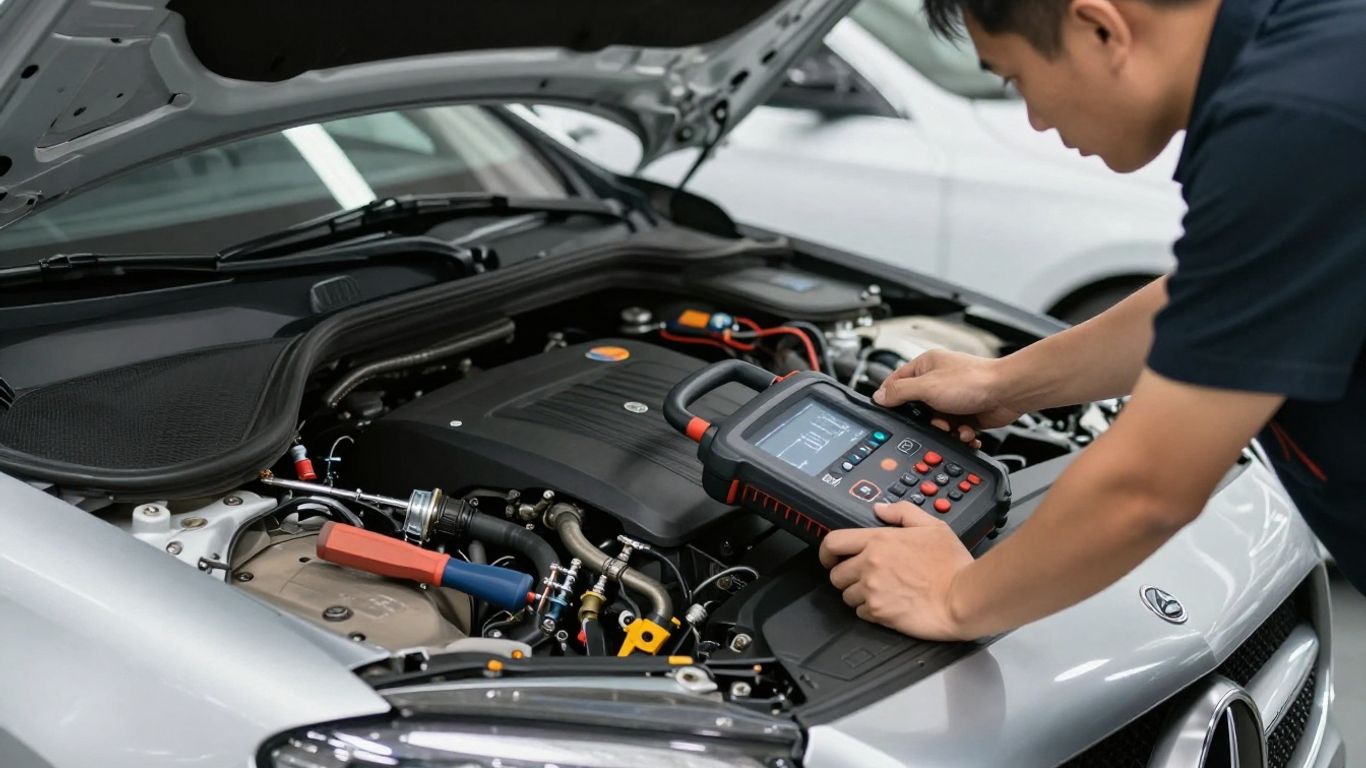
Record symptoms, recent repairs, and driving conditions
Note when the warning started, how often it appears, and whether the engine was cold or warm. Record fuel economy changes, hesitation, hard starting, smoke, noises, and whether the issue occurs under load. Recent battery work, ignition repairs, fueling, or intake work may be especially relevant.
A short phone video of an intermittent noise or rough idle can help when the symptom disappears before inspection. Dates and mileage are useful too.
Check the fuel cap and visible engine components
With the engine off and cool, inspect the fuel cap seal, intake tubing, accessible vacuum lines, and electrical connectors for obvious looseness or damage. Look for disconnected hoses, damaged insulation, fluid leaks, or wiring that has rubbed against a bracket. Do not reach near belts, fans, or hot components.
Simple visual checks are worthwhile, but they should not become a substitute for testing. If the inspection reveals a damaged component, document it before disturbing the connection.
Identify the Mercedes model, engine, and diagnostic system
Record the chassis or model, model year, engine type, and whether the vehicle uses gasoline, diesel, hybrid, or another configuration. This information affects code interpretation, access to components, and the test procedures that make sense. A generic scan may cover the OBD-II emissions system without accessing every manufacturer-specific module.
Keep the vehicle identification information with the scan report. Similar-looking engines can use different sensors, connectors, and calibration strategies.
Avoid clearing codes before documenting them
Clearing codes erases valuable context, including pending faults and freeze-frame conditions. It can also reset readiness monitors, making the car appear temporarily normal while removing evidence of the original event. Save or photograph every code, status, and available data before repairs begin.
This principle applies well beyond automotive work: preserve the evidence before changing the system. For comparison, structured project records are also central to ADU construction planning, where changes are tracked rather than guessed at after the fact.
Read and interpret Mercedes diagnostic trouble codes
A diagnostic trouble code is a starting point. It identifies the monitor or circuit that reported an abnormal condition, but it does not automatically identify the failed component. Accurate interpretation combines the code with symptoms, test results, wiring information, and the conditions recorded when the fault appeared.
How to scan the OBD-II system correctly
Turn off accessories, connect the scanner securely, and follow its instructions without starting a test that the tool cannot support. Read stored, pending, and permanent codes, then save the vehicle information and freeze-frame data. If several codes appear, record their order and avoid assuming the last code is the root cause.
A basic reader may show only part of the available information. If communication fails or several modules report faults, the tool’s coverage may be limiting the diagnosis rather than proving that the vehicle has multiple failures.
Difference between generic and Mercedes-specific codes
Generic OBD-II codes use standardized definitions, which makes broad system identification easier. Manufacturer-specific codes may provide additional detail, but their meaning depends on the vehicle and the diagnostic tool’s data coverage. Read the full description for the exact model and engine instead of relying on a code list copied from another vehicle.
The same letter and number pattern can lead to different practical tests across platforms. Confirm the definition before buying a sensor or control module.
Why a fault code does not always identify the failed part
A sensor-range code may result from a wiring fault, an intake leak, a power-supply problem, or a genuine sensor failure. Likewise, a misfire code can be caused by ignition, fuel delivery, compression, or an air leak. Test before replacing parts is the rule that prevents many unnecessary repairs.
Start with the simplest explanation that fits all the evidence, then verify it with a measurement or a controlled component swap when appropriate. Never swap parts blindly when a wiring or mechanical fault remains possible.
Use freeze-frame data and live sensor readings
Freeze-frame data shows the conditions present when the control module stored the fault, such as engine speed, load, temperature, and fuel-trim information. Live readings reveal whether the problem is still present and how the system responds to changes in load. Compare readings with the engine fully warm and during the operating condition that triggers the warning.
The value is in the pattern, not one isolated number. A reading that looks unusual only during a cold start may point in a different direction from one that remains abnormal at every temperature.
Diagnose the most common causes
Once the codes and symptoms are documented, move from broad categories to focused tests. Misfires, air-fuel errors, intake leaks, airflow measurement faults, throttle problems, and vapor leaks are common diagnostic paths, but each still requires confirmation. Work methodically and avoid testing a hot, pressurized, or moving system unsafely.
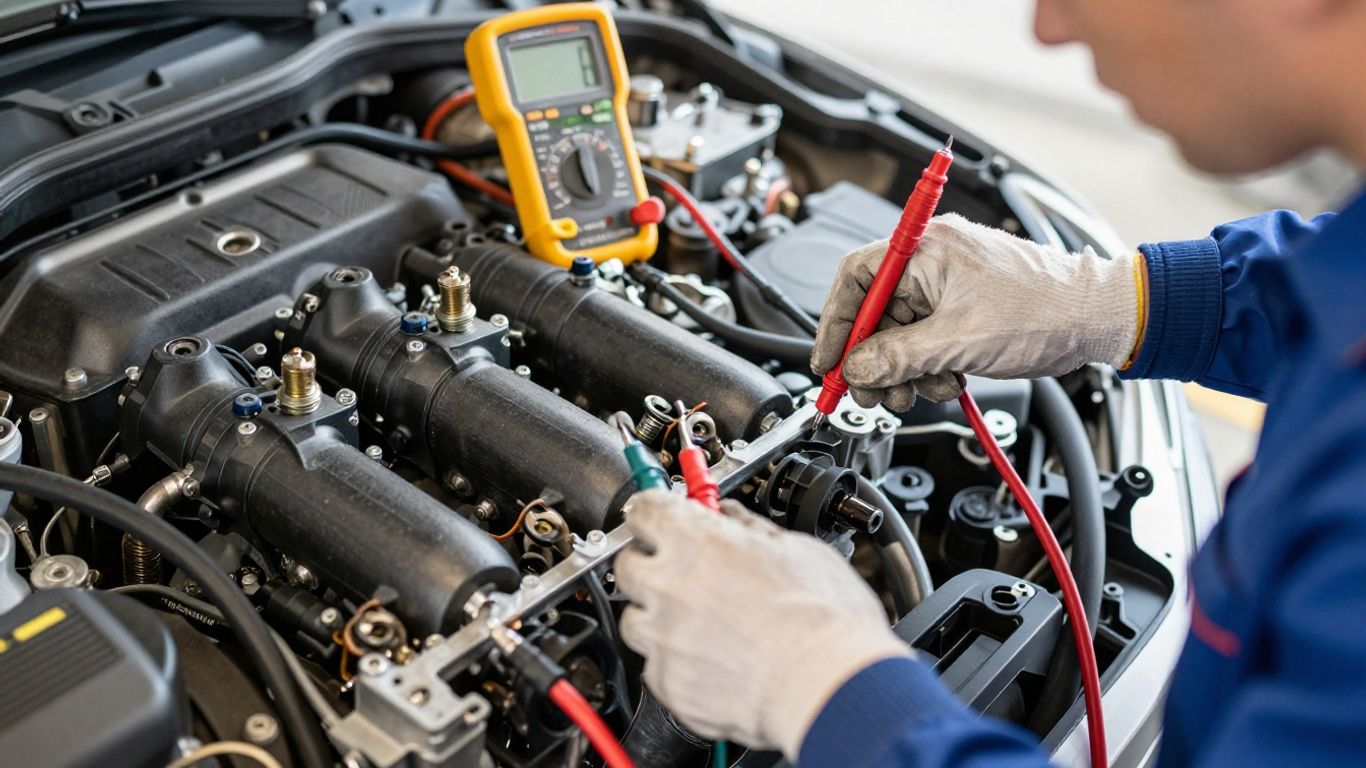
Test ignition coils and spark plugs for misfires
A misfire may feel like shaking, hesitation, or reduced power, and the warning can flash when the condition is active. Inspect plug condition, coil connectors, and signs of oil or moisture in the plug wells. Where the design and service information permit, moving a suspect coil to another cylinder can show whether the misfire follows the coil.
Do not treat that swap as a complete diagnosis. Check the plug, injector operation, compression, and wiring if the fault stays with the original cylinder.
Inspect oxygen sensors and air-fuel readings
Oxygen and air-fuel sensors provide feedback about combustion and exhaust conditions. A sensor-related code can be caused by the sensor itself, an exhaust leak, wiring, fuel pressure, or an engine that is genuinely running too rich or too lean. Look at fuel trims and sensor response rather than condemning the sensor from the code alone.
A leak upstream of a sensor can introduce misleading oxygen readings. Confirm the exhaust and intake sides before installing a replacement.
Check for vacuum leaks and intake problems
Unmetered air can create a lean mixture, unstable idle, hesitation, and fuel-trim faults. Inspect intake boots, vacuum hoses, manifold areas, and brake-booster connections for splits or disconnections. A smoke test is often safer and more revealing than spraying flammable substances around a running engine.
Compare the leak evidence with the code and live data. A repair is more convincing when fuel trims improve after the leak is corrected.
Evaluate the mass airflow sensor and throttle system
Airflow measurement errors can affect fueling, idle quality, and acceleration. Check the sensor connector and intake path for damage, contamination, or an unsealed joint, while following the manufacturer’s service guidance for cleaning or testing. The throttle system may also set faults when its position feedback, wiring, or mechanical movement is abnormal.
Do not force an electronic throttle plate or use an unsuitable cleaner. A scan tool may be needed for relearn procedures after certain repairs.
Test the evaporative emissions system for leaks
The EVAP system stores and controls fuel vapors, so a loose cap, cracked hose, stuck valve, or leak-detection fault can illuminate the warning. A smoke machine and appropriate test procedure can locate small leaks more reliably than visual inspection. Pay attention to whether the fault is a small leak, a purge-flow issue, or a pressure-sensor reading.
After a repair, the system may need specific conditions before its monitor runs again. An immediate light staying off does not prove the EVAP test has completed.
Check Mercedes-specific systems and related symptoms
Not every warning connected with engine performance originates in the basic ignition or fuel system. Diesel exhaust equipment, turbocharging, transmissions, network communication, and battery voltage can all influence what the driver sees. Broaden the investigation when the symptoms or scan results point outside the engine’s primary controls.
Examine the diesel particulate filter and exhaust systems
On a diesel vehicle, a particulate-filter or exhaust fault may come with reduced power, regeneration messages, or changes in fuel consumption. Do not attempt repeated forced regeneration without confirming that the system is safe and that the underlying cause has been addressed. Sensor, temperature, pressure, and exhaust-flow problems can prevent regeneration from completing.
A catalytic or other exhaust restriction can also affect performance. Proper temperature and back-pressure testing is preferable to guessing from the warning light.
Diagnose turbocharger and boost-pressure faults
Boost-related codes can result from a leaking hose, faulty pressure sensor, control problem, wastegate issue, or turbocharger fault. Inspect charge-air plumbing and clamps, then compare commanded and measured boost during an appropriate road test or controlled test. A loose connection may be simple, but oil residue around a joint does not by itself identify the cause.
Avoid hard driving while the engine is in reduced-power mode. If unusual whistling, smoke, or rapid oil loss is present, stop and seek professional inspection.
Investigate transmission or communication-related codes
A warning may be accompanied by harsh shifting, delayed engagement, or a message involving the drivetrain. Scan the relevant modules and check whether the codes are current, historical, or communication-related. A network code can arise from a weak power supply, damaged wiring, a connector problem, or a module that is not communicating.
Do not replace a control unit solely because it is named in a communication code. Verify voltage, grounds, wiring continuity, and network conditions first.
Consider battery voltage and electrical system problems
Low or unstable voltage can create several apparently unrelated warnings, especially after a weak battery, jump-start, or charging-system problem. Test battery state, charging voltage, terminals, and grounds under the conditions described by the service information. Record the voltage during startup as well as with the engine running.
One low-voltage event may leave historical codes behind. Clear nothing until the report is saved, then reassess which faults return after stable power is restored.
Decide between DIY testing and professional service
The right boundary for do-it-yourself work depends on equipment, experience, access, and the risk involved. Basic inspection and documentation are often reasonable, while fuel, high voltage, moving components, and advanced network faults deserve more caution. A good decision saves time without turning a small warning into a safety problem.
Repairs suitable for experienced Mercedes owners
An experienced owner may be comfortable replacing a properly identified spark plug, repairing an accessible hose, tightening a sound fuel cap, or replacing a clearly damaged connector. Even then, use the correct torque, sealing parts, and service procedure. Keep the old part and record what changed.
If the repair requires coding, adaptations, special access, or a procedure you cannot verify, pause before proceeding. The goal is a confirmed repair, not simply a dark warning lamp.
Tools needed for safe and reliable testing
A capable scan tool, multimeter, inspection light, basic hand tools, and reliable service information cover many first steps. A smoke machine, pressure gauge, current clamp, or oscilloscope may be useful for advanced diagnosis, but only when the operator understands the test. Use eye protection and keep hands, clothing, and cables away from moving parts.
A practical home diagnostic sequence usually looks like this:
- Save every stored and pending code before making changes.
- Reproduce the symptom only under safe, controlled conditions.
- Test power, ground, wiring, and simple mechanical causes first.
- Make one repair or controlled change at a time.
That sequence preserves cause-and-effect. It also makes a later visit to a professional much more efficient because the technician can see what has already been checked.
Situations that require a Mercedes specialist
Seek specialist help for a flashing warning, severe misfire, overheating, fuel odor, major power loss, high-voltage system concerns, or faults that return immediately after repair. Professional help is also sensible when several modules report communication faults or when special diagnostic access is required.
The same principle applies to symptoms outside automotive work: a persistent problem is better evaluated systematically than repeatedly managed with guesses. Even a low back pain guidance resource, for example, distinguishes self-care from situations needing professional evaluation; vehicle warnings deserve the same respect for limits.
How dealership and independent-shop diagnosis differs
A dealership may have direct access to factory procedures, vehicle-specific software, and brand service records. An independent specialist may offer experienced diagnosis with different equipment, workflow, or pricing. The useful question is not simply where the car is taken, but whether the shop can access the relevant modules, explain its tests, and provide a clear repair rationale.
Ask whether diagnostic time, scan coverage, and verification are included. A written code printout is helpful, but it is not the same as a tested conclusion.
Verify the repair and prevent the warning light from returning
A repair is not complete when a part has been installed or the light has gone out. The vehicle must be checked under the conditions that originally produced the fault, and the diagnostic system must be allowed to retest its monitors. Verification catches loose connections, incorrect repairs, and faults that were only temporarily absent.
Clear codes only after completing the repair
Save the original report, complete the repair, and inspect the work before clearing codes. Afterward, clear the relevant faults with the appropriate tool and watch for immediate returns. If a code comes back at once, stop and revisit the diagnostic evidence instead of repeatedly clearing it.
Some permanent codes cannot be erased immediately because the vehicle must confirm that the fault is no longer present. That is normal and makes the next checks more meaningful.
Complete a drive cycle and monitor readiness monitors
A drive cycle typically includes cold operation, warm-up, steady cruising, deceleration, and varied engine load, though the exact requirements differ by system. Follow reliable service information and avoid trying to force every monitor to run in one aggressive trip. Watch readiness status with the scan tool.
A recently cleared vehicle may show incomplete monitors even when the light is off. That means testing is unfinished, not that every fault has disappeared.
Confirm that symptoms and live data have improved
Repeat the conditions that triggered the warning and compare live readings with the original scan. Look for smoother combustion, stable fuel trims, normal temperature behavior, and appropriate sensor response. A quiet dashboard is encouraging, but it should agree with improved drivability and data.
If the symptom is intermittent, keep monitoring over several trips. Note mileage, weather, fuel level, and operating conditions so a returning pattern can be recognized.
Follow maintenance practices that reduce recurring faults
Use the correct fluids and service intervals, address small leaks promptly, and inspect hoses, connectors, and intake plumbing during routine maintenance. Keep fuel and ignition components in good condition, and do not ignore a new hesitation simply because the warning light has not returned. Preventive attention is less costly than allowing a small fault to create secondary damage.
For a broader way to think about troubleshooting, a conversion funnel diagnostic framework also starts with evidence, isolates the blocker, and verifies whether the change solved the underlying problem. The same disciplined habit works well in a vehicle bay.
Conclusion
A Mercedes check engine light deserves a calm, evidence-based response: judge the urgency, preserve the codes, test the likely causes, and verify the repair through a complete drive cycle. That process is more reliable than replacing parts by guesswork and helps you decide when professional diagnosis is the safer choice.
Frequently Asked Questions
Can I drive with the check engine light on?
A steady light with normal engine behavior may allow a short, gentle trip for diagnosis, but a flashing light, severe shaking, overheating, smoke, or major power loss calls for stopping as soon as it is safe.
What is the first thing to check after the light appears?
Record the symptoms and dashboard messages, then inspect the fuel cap and visible hoses or connectors. Scan for codes before clearing anything.
Does a check engine code tell me which part to replace?
No. A code identifies a monitored fault or condition. Testing is still needed to distinguish a failed part from wiring, air leaks, power problems, or another underlying cause.
Why did the light come on after I bought fuel?
A loose or damaged fuel cap can allow an evaporative-emissions leak, but the timing does not prove that is the cause. A scan and leak test may be needed if the warning remains.
How long does it take for the light to turn off after a repair?
It may turn off after the fault is corrected and the system completes its checks, or it may need to be cleared with a scan tool. Readiness monitors can require several normal trips to run.
What information should I give a repair shop?
Provide the model year and engine, the exact warning messages, when the symptom occurs, recent repairs or fueling, stored and pending codes, and any freeze-frame data you saved.
When should I use a specialist instead of diagnosing the problem myself?
Use a specialist for flashing warnings, severe drivability problems, high-voltage concerns, complicated communication faults, or any test involving equipment and procedures you cannot perform safely.