

Key Takeaways
Electrical faults are easier to solve when you begin with symptoms, verify the basics, and avoid replacing modules on guesswork alone.
- Separate battery, alternator, starter, wiring, and module symptoms.
- Use a multimeter and a scanner suited to the vehicle.
- Record codes and test power, ground, and signal circuits methodically.
- Inspect for moisture, corrosion, loose connections, and aftermarket drains.
- Leave airbag circuits, programming, and complex network faults to a specialist when needed.
Start with symptoms and safe diagnostic checks
Mercedes electrical system troubleshooting should begin with what the vehicle is actually doing, not with a list of parts to replace. Note whether the issue happens during starting, while driving, or after the vehicle has been parked. Intermittent faults also deserve careful attention because a temporary symptom can still point to a loose connection or low system voltage.
Distinguish a battery issue from a charging-system fault
A weak battery may produce slow cranking, clicking, or a complete loss of electrical power after the vehicle sits. A charging-system fault is more likely when the engine starts but the battery warning appears, lights dim while driving, or the battery repeatedly goes flat after short trips. Test the battery at rest and then check voltage with the engine running, following the specifications for the exact model rather than relying on one universal number.
Recognize warning lights, dimming, and intermittent electrical behavior
Write down every warning light, when it appeared, and whether several features failed together. Flickering lamps, a screen that reboots, locks that work only sometimes, or instruments that briefly go dark can indicate unstable voltage or a communication fault. A symptom log is especially useful when the vehicle behaves normally by the time it reaches a repair shop.
Check fuses, grounds, terminals, and visible wiring damage
Start with a visual inspection before probing complicated circuits. Look for loose battery terminals, green or white corrosion, damaged insulation, overheated fuse holders, and ground straps that are frayed or poorly secured. Replace a fuse only with the specified rating; if the replacement fails again, the underlying short or overload still needs to be found.
Follow safety precautions around airbags and high-current circuits
Disconnecting a battery does not make every circuit immediately safe, and airbag components require particular care. Do not probe yellow airbag connectors, use test lights on unknown circuits, or work around a starter cable without protecting against accidental contact. If a repair involves an airbag, battery restraint system, high-current cable, or damaged wiring near a fuel system, professional help is the safer choice.
Use the right tools for Mercedes diagnostics
Good tools reduce guesswork, but they do not replace a logical test plan. A basic meter can reveal voltage loss, while a capable scanner may show faults that a generic code reader cannot access. Keep the vehicle identification details and battery condition in mind when interpreting any result.
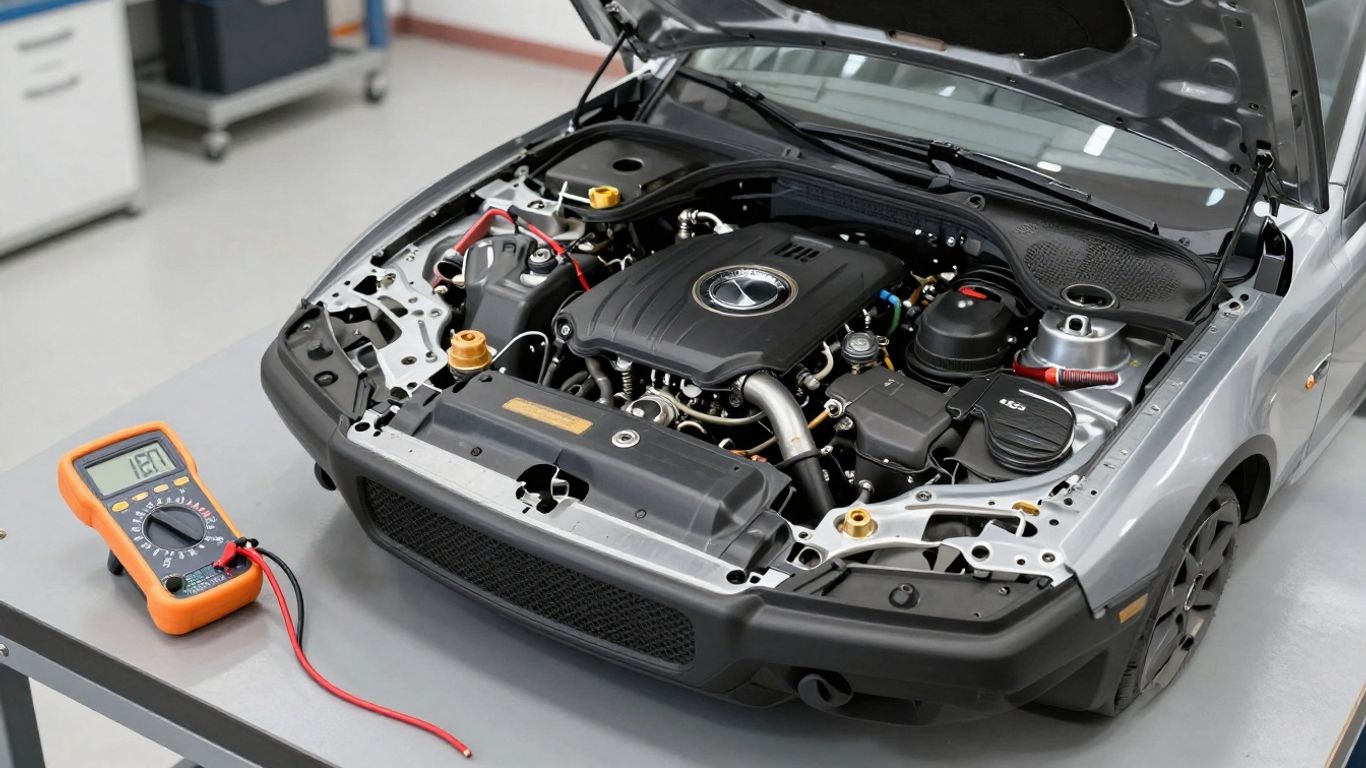
Choose a multimeter for voltage and continuity testing
Use a quality digital multimeter with leads that fit securely and a current range appropriate for automotive work. Voltage-drop testing under load is often more revealing than a continuity beep, particularly when a cable looks clean but cannot carry sufficient current. Measure across the suspected connection while the circuit is operating, and avoid piercing insulation unless the service procedure permits it.
Use an OBD-II scanner that can access Mercedes control modules
A basic OBD-II reader may retrieve emissions-related data but miss faults stored in body, chassis, restraint, or network modules. Choose a scanner that clearly states which control modules and functions it supports for the model year. Save the original scan before clearing anything; the code description is only a starting point, not proof that the named component has failed.
Test parasitic draw without draining the battery
A parasitic-draw test should be planned so the battery is not unnecessarily discharged. Fully charge the battery, allow the vehicle to enter its sleep state, and connect the meter in the correct current-measuring arrangement without waking doors, lamps, or control modules repeatedly. If the reading is high, isolate circuits one at a time and monitor whether the draw changes.
Understand when professional Mercedes diagnostic equipment is necessary
Some faults require module-level communication, guided tests, coding, or programming that ordinary home scanners cannot perform. A professional technician can also compare live data across related modules instead of treating each code in isolation. If the vehicle will not enter sleep mode, several modules report communication errors, or a replacement module needs configuration, stop before ordering parts.
Follow a step-by-step troubleshooting process
A disciplined sequence keeps a small fault from becoming an expensive parts trail. Begin with the complaint, confirm the vehicle’s condition, and make one test at a time. The same method works whether the symptom is a no-start, a dead window, or a warning light that appears only in wet weather.
Record fault codes and freeze-frame information
Save every code, status, mileage, and freeze-frame detail before clearing the system. Note whether a code is current, stored, or intermittent, and record the supply voltage shown during the event if available. Codes can be caused by low voltage or lost communication, so the surrounding data often matters more than the label alone.
Confirm the symptom before replacing components
Operate the affected feature under the same conditions in which the owner noticed the fault. Check whether temperature, vibration, steering position, moisture, or a low state of charge changes the result. Confirm the failure first because a part that appears suspicious may only be reacting to a missing power feed or ground.
Trace power, ground, and signal circuits in order
Use the wiring diagram to identify the fuse, relay, power supply, ground point, switch, module, and load involved. Test from the source toward the component, then verify the signal path where appropriate. This order separates an open circuit from a failed load and prevents a control module from being blamed simply because it recorded the fault.
For a compact record, capture these details during each test:
- The exact symptom and conditions that triggered it.
- Battery voltage before, during, and after the test.
- Fault codes, module names, and whether codes returned.
- Test points, measured values, and the action taken.
The list gives a future technician something more useful than “electrical problem.” It also makes intermittent faults easier to reproduce and prevents repeated tests after the vehicle has been disturbed.
Clear codes and verify the repair with a road test
Clear codes only after recording them and completing the repair. Recheck the affected feature, scan again for returning faults, and perform a controlled road test that matches the original conditions. Confirm that warning lights stay off and that no new symptoms appear before handing the vehicle back.
Diagnose common Mercedes electrical problem areas
The battery, starter, alternator, fuses, modules, and network wiring are connected, so one weak point can create several apparently unrelated symptoms. Diagnose the foundation first, then move toward the affected circuit. A clean visual inspection remains valuable even on a vehicle with extensive electronic monitoring.
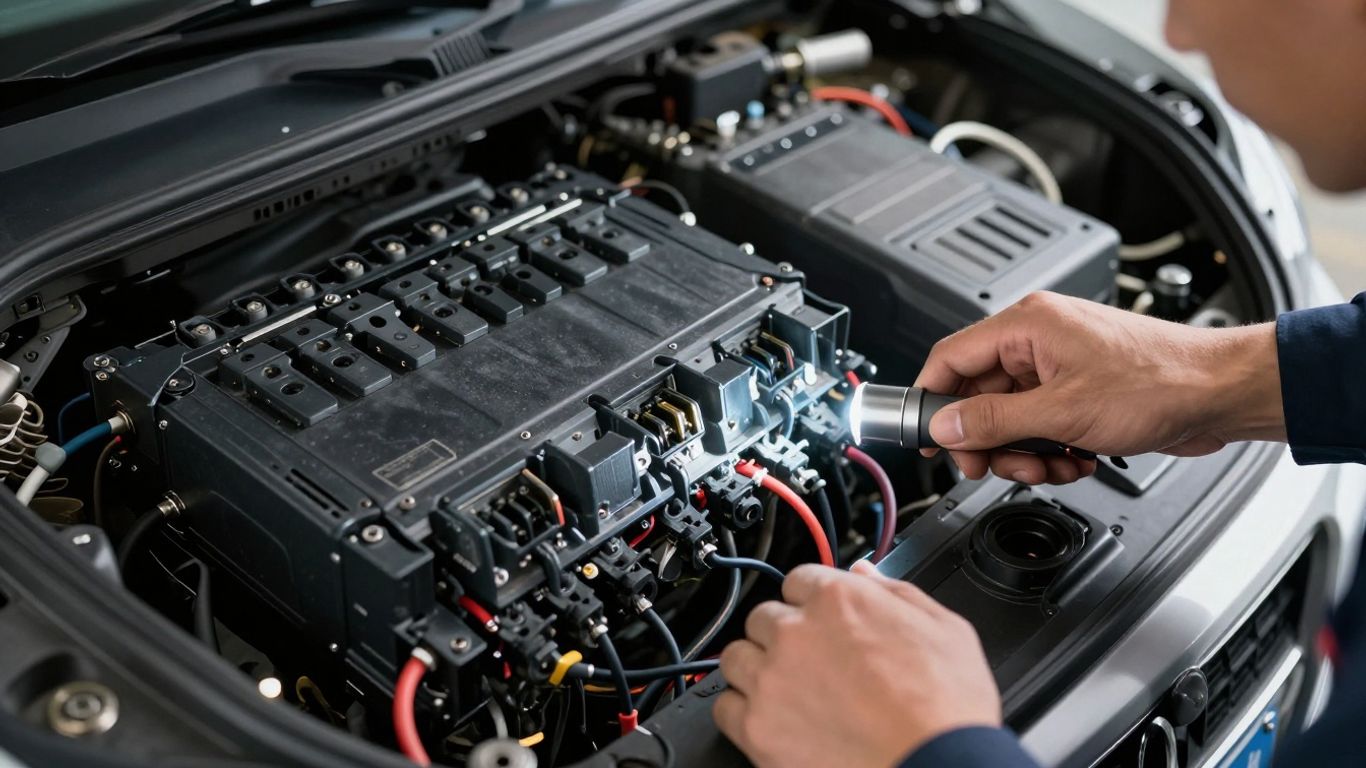
Test the battery, alternator, and starter circuit
A battery test should include state of charge and condition, not just a quick voltage reading. During starting, check for excessive voltage drop on both positive and ground sides, then test charging behavior with electrical loads operating. If the engine does not crank, distinguish a discharged battery from a starter-control problem before condemning the starter itself.
Investigate faulty fuses, relays, and power distribution points
A fuse can be intact while power is missing at the output side, and a relay can fail only when warm or under load. Check both sides of a fuse with the circuit active, inspect relay sockets for heat damage, and follow the power-distribution diagram. Repeated fuse failure usually indicates a short, overload, or damaged component downstream.
Check the SAM modules for water intrusion or communication faults
SAM modules and their connectors should be inspected when multiple body functions fail together or communication codes appear across several systems. Look for damp carpet, staining, corrosion, and water tracks around module housings and nearby connectors. Drying the visible area is not enough if moisture has entered terminals or damaged a circuit board.
Inspect CAN bus wiring for short circuits and connection problems
A network fault can disable several unrelated functions at once. Check connector seating, twisted-pair wiring, signs of rubbing, and evidence of previous repairs before testing resistance or network voltage according to the service information. Avoid unplugging modules randomly, since waking or isolating systems without a plan can create additional codes.
Troubleshoot comfort and convenience features
Comfort features often share power supplies, grounds, door modules, and communication lines. When one window or lamp fails, test its local circuit; when several features in one area fail, look for a shared feed or module connection. Do not assume a motor or switch is bad simply because the feature is silent.
Resolve central locking and keyless-entry problems
Begin by checking the key battery, vehicle battery, and whether the fault affects one door or every door. Listen for actuator operation and inspect door-jamb wiring where repeated flexing can damage conductors. If the remote works inconsistently but the interior switch works normally, compare the affected input and power supply before replacing a lock actuator.
Diagnose power window, seat, mirror, and sunroof failures
Test the relevant fuse, switch input, motor supply, and ground while commanding the feature. A single failed movement may be mechanical, whereas several functions on one door can point to wiring or a local control module. Keep hands clear of moving mechanisms and use the model’s initialization procedure after electrical power has been interrupted.
Investigate lighting, wiper, and turn-signal malfunctions
Check the lamp or motor, connector condition, fuse supply, and ground under load. If both sides or several lighting functions fail, examine shared power distribution and module communication rather than replacing bulbs. Wipers and exterior lighting are safety-related, so a fault that affects visibility should be repaired before normal driving resumes.
Check parasitic drains caused by aftermarket accessories
Dash cameras, tracking devices, audio equipment, chargers, and poorly installed alarms can keep a vehicle awake. Inspect non-factory wiring, inline fuses, and devices connected near the battery or diagnostic socket. Disconnect one suspect accessory at a time, allow the vehicle to sleep again, and compare the current draw rather than guessing from battery age.
Account for model-specific and environmental factors
A test result has meaning only in the context of the exact vehicle. Model year, engine, body style, battery type, software level, and installed options can change connector locations and diagnostic procedures. Moisture and temperature also influence faults that seem mysterious when the car is dry or cool.
Use wiring diagrams and service information for the exact model
Obtain the correct wiring diagram, fuse allocation, connector view, and component location for the vehicle identification number where possible. Wire colors and module locations can vary between revisions, even when the symptom sounds familiar. Generic diagrams are useful for orientation but should not replace model-specific service information during a live repair.
Check for moisture damage in common water-entry locations
Inspect drains, seals, cowl areas, trunk wells, spare-wheel compartments, door membranes, and carpets when a fault follows rain or washing. Trace the water path upward rather than looking only at the wettest point. Corrosion may remain hidden inside a connector after the surface appears dry, so affected terminals should be examined closely.
Consider battery registration and energy-management systems
Some vehicles monitor battery condition and manage electrical loads when the state of charge falls. After battery replacement, follow the model-specific procedure for registration, adaptation, or energy-management reset if required. A new battery cannot correct an alternator fault, excessive draw, poor connection, or an incorrect battery specification.
Identify software updates and known technical service bulletins
Before replacing an expensive module, check service information for software revisions and technical bulletins that match the symptom and vehicle configuration. A documented update does not prove it is the answer, but it can prevent unnecessary hardware work. Record the software version and the conditions under which the fault occurs so a specialist can assess relevance.
Decide between a DIY repair and professional service
Home diagnosis is reasonable when the task involves inspection, battery testing, fuse checking, or a clearly identified low-voltage connection. It becomes riskier when the fault involves restraint systems, programming, water-damaged modules, or a vehicle-wide communication failure. The goal is not to do every repair yourself; it is to stop at the point where further testing could cause harm or expense.
Know which electrical tests are suitable for home garages
A careful owner can inspect terminals, test battery voltage, check accessible fuses, and perform basic voltage-drop measurements with suitable equipment. Work on a level surface, protect the meter from accidental shorts, and keep a written record. For broader background on electrical symptoms, common Mercedes electrical issues can help frame the initial inspection, but it should not replace the vehicle’s service data.
Avoid unnecessary module replacement and programming costs
A control module should be replaced only after its power, ground, communication, inputs, outputs, and relevant wiring have been tested. Used or new modules may require coding, configuration, or security-related procedures, and a replacement will not fix the original water leak or wiring short. Parts swapping is particularly costly when several modules share the same communication network.
Prepare diagnostic findings before visiting a Mercedes specialist
Bring the vehicle identification details, symptom timeline, scan report, battery-test results, photos of damaged wiring, and a list of recent repairs or accessories. Mention whether the fault follows rain, a jump-start, a battery replacement, or a particular driving condition. A precise handoff saves time and helps the technician begin with evidence instead of repeating every basic check.
Some practical decisions sit outside the repair itself. For example, an electrician whose hands are central to their work may separately review own-occupation disability insurance, while a driver caring for an older passenger may consider sheepskin car seat covers for comfort. Neither changes the diagnosis, but both can matter around vehicle ownership and daily use.
Verify the final repair and prevent recurring electrical faults
After repair, repeat the original test, scan all relevant modules, and confirm that the vehicle enters its normal sleep state. Secure wiring away from heat and moving parts, replace missing seals, clear blocked drains, and remove poorly installed accessories. Keep the test record with the vehicle; it becomes valuable history if a related symptom returns.
When sourcing unrelated household or laboratory items, readers may encounter water filtration components or Nutrivance Laboratories; those topics are separate from vehicle diagnostics. Likewise, any online community should be approached with attention to Bundled community guidelines. Keeping those contexts separate is as useful as keeping an automotive circuit diagnosis focused.
Conclusion
Reliable electrical troubleshooting comes from confirming the symptom, testing the power and ground paths, and respecting the vehicle’s safety and communication systems. Start with the battery and visible connections, document scan data, and escalate when module programming or high-risk circuits are involved. A measured diagnosis usually costs less than replacing several parts on suspicion.
Frequently Asked Questions
What is the first thing to check when a Mercedes will not start?
Check the battery state of charge, terminal condition, and whether the starter cranks the engine. Then separate a low-voltage problem from a starter-control or fuel-related fault.
Can a weak battery cause multiple warning lights?
Yes. Low system voltage can trigger several stored or temporary faults, especially during starting. Charge and test the battery before interpreting every warning as a separate failure.
How can I find a parasitic battery drain?
Charge the battery, let the vehicle enter sleep mode, measure current correctly, and isolate circuits or accessories one at a time. Avoid repeatedly opening doors or waking modules during the test.
Should I replace a fuse that looks intact?
Do not replace it without testing. Check for voltage on both sides with the circuit active and use only the specified fuse rating.
Why do electrical problems appear after rain?
Water may enter through blocked drains, failed seals, trunk areas, door membranes, or cowl openings. Moisture can corrode connectors and cause temporary or network-related faults.
When should an electrical fault be treated as unsafe to drive?
Do not continue driving if the fault affects braking-related electronics, steering, airbags, charging, starting while underway, exterior lighting, or windshield visibility. Arrange a professional assessment instead.
Is a generic OBD-II scanner enough for every fault?
No. A generic scanner may read emissions-related codes but lack access to body, chassis, restraint, and network modules. Choose equipment based on the vehicle and the system being diagnosed.