

Key Takeaways
A careful Mercedes oil change depends more on matching the vehicle’s requirements than on simply draining and refilling the sump.
- Confirm the required oil approval, viscosity, and capacity before buying supplies.
- Use a compatible filter, a fresh sealing washer or O-ring, and properly rated lifting equipment.
- Warm the engine slightly, but avoid handling oil or components while they are dangerously hot.
- Check the level twice and inspect carefully for leaks after the engine runs.
- Keep service records and dispose of used oil and filters through an approved recycling point.
Understanding Mercedes oil change requirements
A Mercedes oil change guide should begin with the vehicle’s exact engine and service requirements. Model names alone are not enough because engines, production years, oil capacities, and approved lubricants can differ. Before opening a drain plug, gather the owner’s manual, current service information, and the vehicle identification details. That small amount of preparation prevents an otherwise straightforward job from becoming guesswork.
Why Mercedes-Benz oil specifications matter
Engine oil is selected for more than its thickness. The approval printed on the container indicates that the lubricant meets a particular performance requirement, so the specification listed for the engine should take priority over a familiar brand or attractive price. The approval matters most when several oils appear to share the same viscosity.
A bottle that merely says it is suitable for European vehicles is not automatically the correct choice. Read the label and compare its approval with the manual or service record. If the information is unclear, pause the job and confirm it with a qualified parts or service professional.
How model year and engine type affect oil choice
A small sedan and a larger performance-oriented vehicle may use different engines even when their model names look similar. Turbocharging, diesel equipment, emissions hardware, sump design, and engine generation can all affect the required oil specification and fill quantity.
Record the model year, engine designation, and registration or vehicle identification details before shopping. Those details are more useful than relying on a generic online capacity chart, especially when a model was offered with multiple engines in the same year.
When to follow the maintenance booklet or digital service record
The maintenance booklet remains a useful reference for the approved oil, service interval, and inspection sequence. Newer vehicles may also display service information electronically, but the dashboard reminder should not replace the complete maintenance record. Check whether the vehicle calls for a time-based service, distance-based service, or an adjustment based on operating conditions.
If the vehicle is under a service plan or warranty, keep receipts for the oil, filter, and other parts. A dated record makes it easier to show what was fitted and when the work was completed. A separate DIY oil change guide can help with the general sequence, but the vehicle’s own documentation remains the deciding reference.
How driving conditions change the recommended interval
Short trips, heavy traffic, dusty roads, frequent idling, towing, and extreme temperatures can place more demand on engine oil than steady highway driving. Fuel dilution and condensation can also be concerns when an engine rarely reaches full operating temperature. These conditions may justify closer attention to the service schedule.
Do not invent a shorter interval without a sound reason, but do not ignore severe-use guidance either. If the vehicle is used in several demanding ways, ask a qualified technician how those conditions affect the recommended timing.
Choosing the right oil and filter
The shopping stage is where many oil changes go wrong. A container can have the right viscosity and still lack the approval required for the engine, while a filter can look similar without fitting the housing correctly. Buy from a source that can match parts to the exact vehicle details rather than selecting by model name alone.
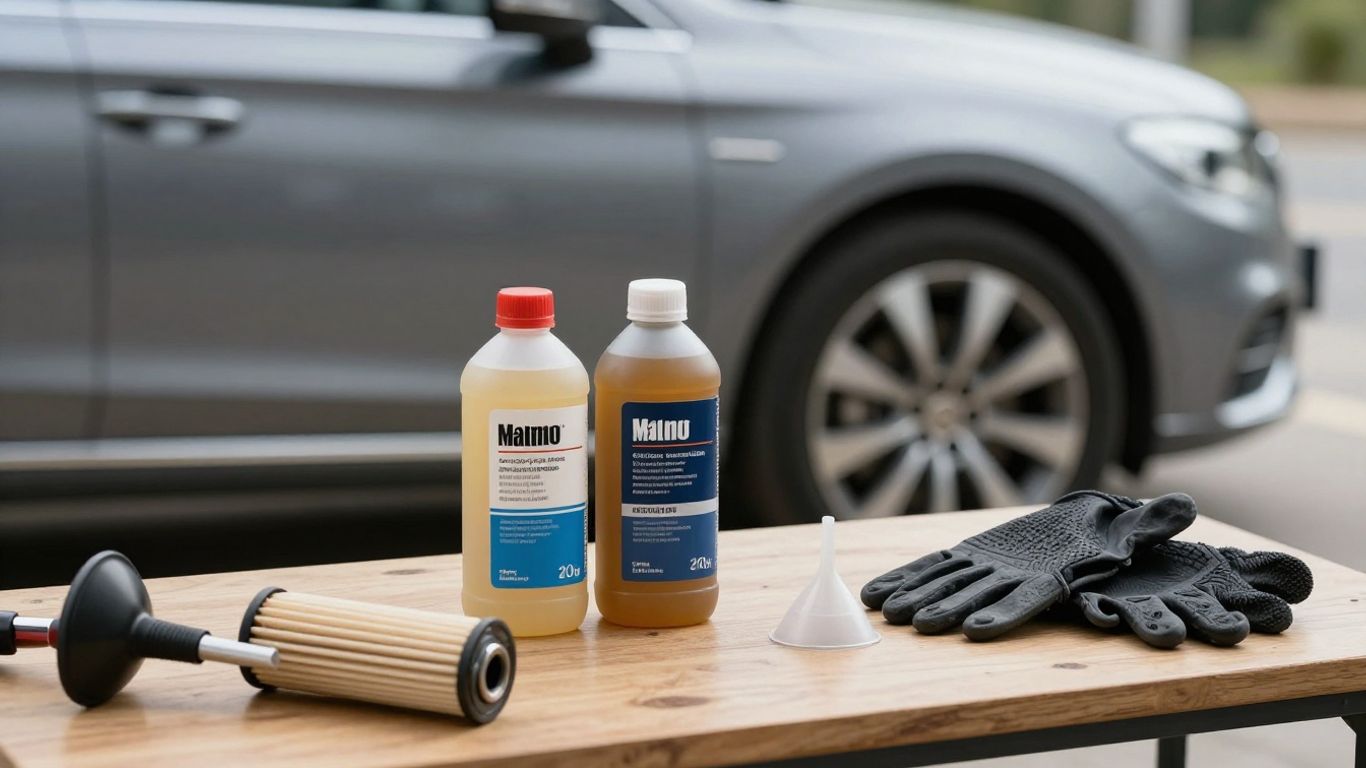
Comparing viscosity grades for different climates
Viscosity describes how oil flows at different temperatures, but it should not be chosen solely by the weather outside. The manual or service record normally lists the permitted grades for the engine and market. In a cold climate, the low-temperature part of the grade affects starting flow; in hot conditions, the high-temperature rating remains relevant.
If more than one grade is approved, use the one suited to the season and operating environment. Never substitute a thicker or thinner oil simply because it is already on the shelf.
Identifying approved Mercedes-Benz oil specifications
Look for the exact approval reference on the packaging and compare it with the vehicle documentation. Terms such as “synthetic” or “premium” describe broad qualities, not necessarily compatibility with a particular engine. The same caution applies when ordering online: confirm the approval on the actual product label, not just a search result or product title.
A filter listing should also identify the engine family or a compatible part number. When uncertain, provide the supplier with the vehicle identification details and ask for confirmation before placing the order.
Selecting an OEM or aftermarket oil filter
An original-equipment filter is one straightforward option, but a reputable aftermarket filter may also be suitable when its fitment and specification are confirmed. The filter should match the housing, sealing surfaces, bypass arrangements, and service requirements for the engine. Cartridge systems commonly include a new O-ring, while spin-on designs may use an integrated gasket.
Avoid opening a filter package if the part number is uncertain. Compare the old filter with the replacement only as a secondary check; visual similarity does not prove that the internal construction or seal is correct.
Estimating the correct oil capacity
Capacity figures are useful for buying supplies, but they are not a substitute for the vehicle’s specified fill amount. The quantity may vary with engine type, filter design, and how completely the old oil drains. Keep some oil aside rather than pouring the entire container in at once.
The following reference is a planning aid, not a fill chart:
| Information to confirm | Why it matters | Where to check |
|---|---|---|
| Engine and model year | Identifies the correct service data | Owner’s manual or vehicle records |
| Oil approval | Confirms lubricant compatibility | Manual and product container |
| Viscosity range | Matches permitted temperature performance | Manual or service information |
| Fill capacity | Helps prevent underfilling or overfilling | Engine-specific service data |
After using the table as a checklist, verify the final number against the engine-specific source. The dipstick or electronic measurement is the final check, not an invitation to ignore the published capacity.
Preparing for the oil change
Good preparation makes the work cleaner and safer. Park on a firm, level surface, allow enough room to work around the vehicle, and arrange every tool before the engine is raised or the drain plug is loosened. If any step feels unfamiliar, consult a professional rather than improvising beneath a vehicle.
Gathering tools, supplies, and protective equipment
You will generally need the correct oil and filter, a drain pan with more capacity than the engine’s fill quantity, gloves, rags, a funnel, hand tools, and a replacement washer or seal where required. A torque wrench is useful because drain plugs and filter housings should not be tightened by feel alone.
Prepare eye protection and clothing that can tolerate oil splashes. Keep absorbent material nearby, and do not rely on a small household container that could tip or overflow.
Finding the drain plug, oil filter, and fill cap
Open the hood and identify the oil filler cap before lifting the car. Then locate the drain plug and filter housing from the underside or upper engine bay, depending on the engine layout. Some vehicles require removal of an underbody panel before either component is accessible.
Take a moment to distinguish the engine drain plug from transmission, differential, or coolant components. A workshop diagram or service manual is preferable to guessing from underneath the car.
Safely lifting and supporting the vehicle
Use only the manufacturer’s lifting points and equipment rated for the vehicle. Ramps must sit on a firm, level surface, while jack stands should be placed at approved support points after the vehicle is raised. Never work under a car supported only by a jack.
Before sliding underneath, gently test the vehicle for movement and keep wheels secured as appropriate. If the car cannot be made stable, stop and arrange safer equipment or professional assistance.
Warming the engine without creating burn hazards
A short warm-up helps the oil flow more easily, but the engine does not need to reach full operating temperature before draining. Let it run briefly, then switch it off and wait long enough for exposed components to become manageable. Hot oil can cause serious burns and may spread farther when the drain plug is removed.
Work slowly around the exhaust, filter housing, and sump. Gloves reduce contact with oil, but they do not make hot components safe to touch.
Draining the old engine oil
Draining is simple in principle, yet it is the stage most likely to create a spill or reveal an underlying problem. Give the oil time to flow, keep the pan aligned as the stream changes, and resist the temptation to rush the plug back in. A few extra minutes here can make the next steps much cleaner.
Removing the underbody panel when necessary
Many vehicles use a panel or shield to protect the underside and improve airflow. Remove only the fasteners needed for access, keeping them together so their positions are easy to remember. Support the panel as the final fasteners come out; some panels are larger and heavier than they appear.
Inspect the panel for oil marks before cleaning it. Fresh residue around the drain area may indicate a previous leak or a spill that should be traced after the service.
Positioning the drain pan to prevent spills
Place the pan beneath the plug with enough room to follow the initial stream and the later trickle. Oil can travel along the sump or splash from the plug, so positioning the pan slightly wider than the expected stream is safer than centering it precisely beneath the bolt.
Loosen the plug carefully, then keep pressure on it as the threads disengage. Move your hand away as the oil begins to flow, and watch the pan rather than walking away while it fills.
Replacing the drain-plug washer or seal
Many drain plugs use a crush washer or sealing ring that should be replaced during the service. Reusing a flattened washer can lead to seepage, even when the plug seems tight. Clean the plug and inspect its threads before installing the new seal.
Use the specified tightening method and torque value for the vehicle. If the plug feels damaged, cross-threaded, or unusually loose, stop rather than forcing it into the sump.
Checking the old oil for unusual debris or contamination
Once the oil has drained, look at its color and consistency in good light. Dark oil alone is not a diagnosis, but metallic glitter, coolant-like coloring, a strong fuel smell, or thick sludge deserves further investigation. Do not dismiss these signs simply because the car still runs normally.
Wipe the drain plug clean and inspect any magnetic tip for unusual accumulation. Record what you find, especially if the engine has recently developed noise, warning lights, or changes in oil consumption.
Replacing the oil filter and adding fresh oil
The filter replacement and refill should be treated as one controlled process. Confirm that the old seal has not remained stuck to its mating surface, fit the new filter carefully, and add oil in measured stages. Spilled oil around the housing can make later leak checks confusing, so clean as you go.
Removing and installing a cartridge-style filter
A cartridge filter normally sits beneath a removable cap, often at the top or side of the engine. Remove the cap with the correct tool, lift out the old element, and compare the replacement before fitting it. Install the cartridge in the orientation shown by the service information.
Move the old O-ring from its groove only after noting its position. The new ring belongs in the designated groove, not on the cap’s threads, where it may pinch or fail to seal.
Lubricating the filter seal before installation
Apply a thin film of fresh engine oil to the new O-ring or gasket. This helps it seat without twisting and makes removal at the next service easier. Do not use grease, sealant, or a random lubricant unless the service instructions specifically call for it.
Check that the seal is smooth, correctly positioned, and free from dirt. A clean sealing surface matters as much as the filter itself.
Tightening the drain plug and filter correctly
Reinstall the drain plug with its new washer and tighten it to the specified torque. Fit the filter cap or spin-on filter according to the manufacturer’s procedure, using a torque wrench where a value is provided. Excessive force can damage threads, housings, or seals.
Before filling, wipe both areas dry. That gives you a clean baseline for the leak inspection later and makes a small seepage easier to spot.
Filling the engine gradually to avoid overfilling
Add an amount slightly below the published capacity, using a funnel to protect the engine bay. Wait a moment between additions so the oil can settle into the sump. Once the initial level is close, install the cap and prepare for the measurement procedure specified for the vehicle.
Do not pour in every remaining drop simply because the container is open. The correct level is determined by the vehicle’s measurement method, not by an empty bottle.
Checking the oil level and resetting service information
The final checks turn a parts replacement into a completed service. The engine should be at the condition specified for measurement, and the vehicle should be on level ground. Take your time: an inaccurate reading can lead to either an underfilled engine or an avoidable overfill.
Using the dipstick or electronic oil-level measurement
Some engines use a physical dipstick, while others rely on an electronic measurement accessed through the vehicle controls. Follow the stated warm-up, shutdown, waiting, and measurement sequence exactly. Electronic readings may not appear until the engine has reached the required conditions.
With a dipstick, remove it, wipe it clean, reinsert it fully, and read it on a level surface. Look for a clear result rather than interpreting oil smeared high on the stick.
Correcting the oil level after the first check
If the level is below the permitted range, add a small amount and measure again. If it is above the maximum, do not assume that driving will solve the problem; remove the excess using a suitable method. Overfilling can be as undesirable as running low.
Keep the container nearby until the final reading is confirmed. Once the level is correct, secure the filler cap and clean any oil around it.
Inspecting for leaks after starting the engine
Start the engine and let it run briefly while observing the filter housing and drain plug from a safe position. Do not place hands near belts, fans, or hot components. Switch the engine off and recheck the area after a short wait.
A few drops may be leftover spill rather than an active leak, which is why cleaning beforehand helps. Persistent wetness, dripping, or an oil-pressure warning requires immediate attention and should not be treated as normal.
Resetting the Mercedes-Benz service reminder
The service reminder reset procedure varies with the instrument cluster, steering-wheel controls, and model year. Use the vehicle’s documented sequence rather than selecting random menu options. A reset should be performed only after the oil and filter service is genuinely complete.
Record the date, mileage, oil approval, viscosity, quantity added, and filter part number. This supports future maintenance and helps another technician understand exactly what was done.
Avoiding common Mercedes oil change mistakes
Most avoidable problems come from assumptions: assuming a familiar oil is approved, assuming every engine takes the same quantity, or assuming a warning will disappear after a reset. A disciplined final review is worthwhile, particularly on a vehicle with limited service history. If the job reveals damage or a persistent fault, professional diagnosis is the safer choice.
Mixing unsuitable oil specifications or viscosities
Topping up with a convenient oil can create an unsuitable mixture if its approval or viscosity is not permitted. Small emergency additions may be unavoidable, but they should be corrected with the appropriate oil as soon as practical. Do not use viscosity as a substitute for the required approval.
Keep the correct product details with the service record. That makes future top-ups less likely to become a guessing exercise.
Relying on a generic oil capacity estimate
Online estimates and broad model charts can be useful for planning, but they often group together engines with different requirements. Filling by an approximate number can leave the level too low or too high. Always finish with the prescribed dipstick or electronic check.
Buy a little more than the expected capacity if necessary, but add it gradually. Unopened excess oil can remain available for a later top-up if it is stored correctly.
Ignoring leaks, warning lights, or abnormal engine noise
An oil change cannot repair a damaged seal, worn component, or mechanical fault. A continuing leak, oil-pressure warning, ticking, knocking, or sudden change in engine behavior calls for investigation before the vehicle is driven normally. Stop the engine when the warning or noise suggests a loss of lubrication.
For additional perspective on warning signs and service intervals, consult this oil maintenance advice alongside the vehicle-specific documentation. General guidance can frame the issue, but it cannot replace diagnosis.
Disposing of used oil and filters responsibly
Used oil should never be poured onto soil, into a drain, or into household waste. Transfer it to a sealed container and take it, along with the drained filter, to a council facility, recycling point, or parts retailer that accepts used automotive fluids. Keep the material away from children, pets, flames, and food containers.
Before finishing, use this short cleanup sequence:
- Check the drain plug, filter housing, and filler cap for residue.
- Confirm that the underbody panel and all fasteners are secure.
- Store or transport used oil in a sealed, upright container.
- Write the service date and parts details in the maintenance record.
These final habits reduce environmental harm and make the next inspection easier. They also help reveal a slow leak before it becomes a larger repair.
Conclusion
A careful Mercedes oil change is a measured maintenance job: identify the correct specification, prepare a stable work area, replace the filter and seals properly, and verify the level rather than guessing. Taking a few extra minutes for the final leak check and service record can protect the engine and make future upkeep far less uncertain.
Frequently Asked Questions
How often should engine oil be changed?
Follow the interval in the owner’s manual or service record, while allowing for adjustments where the vehicle is regularly used for short trips, heavy traffic, towing, dusty roads, or extended idling.
Can any synthetic oil be used for an oil change?
No. Synthetic wording alone does not confirm compatibility. Match the oil’s approval and permitted viscosity with the exact engine documentation.
Is it safe to change engine oil at home?
It can be safe when the vehicle is supported correctly, the engine is handled at a controlled temperature, and the correct tools and procedures are used. Never work beneath a vehicle supported only by a jack.
How do I know how much oil to add?
Use the engine-specific capacity as a starting point, then add gradually and confirm the final level with the dipstick or electronic measurement procedure.
Why is the oil level different after the engine runs?
Oil moves through the filter and engine passages after startup, so the level can change. Let the vehicle settle under the specified measurement conditions before checking again.
What should I do if the oil-pressure warning stays on?
Switch the engine off as soon as it is safe and investigate the cause. Continuing to drive with an oil-pressure warning can cause serious engine damage.
Where can used engine oil be recycled?
Take used oil and filters to a local council recycling facility, approved collection point, or automotive retailer that accepts used lubricants. Keep the oil sealed during transport.